After investigating this issue, it turns out that there are several different underlying causes that might be producing this type of problem on Windows 11. Here’s a list of potential culprits that you should be aware of: Now that we have gone over every potential reason why you could be experiencing this problem on Windows 11 let’s go over a series of fixes that other affected users have successfully used to fix the functionality of the Volume Mixer.
1. Run the Audio Troubleshooter
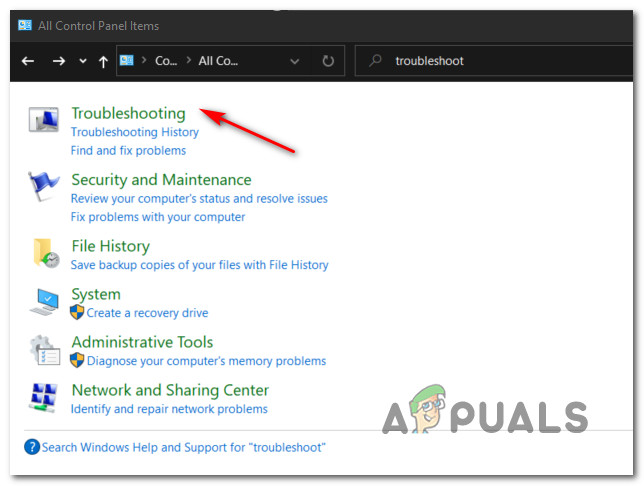
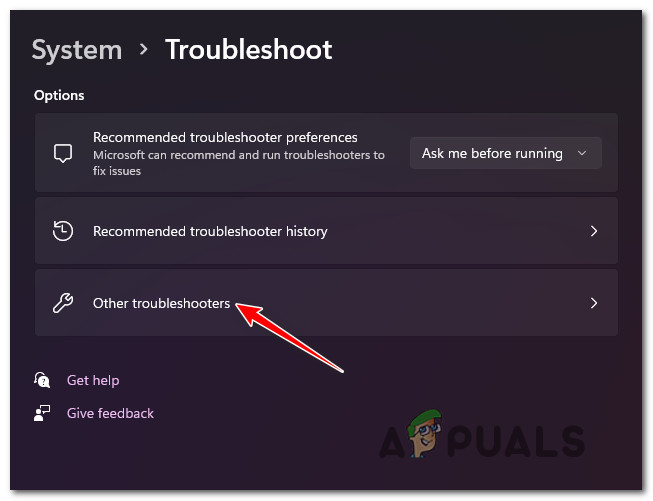
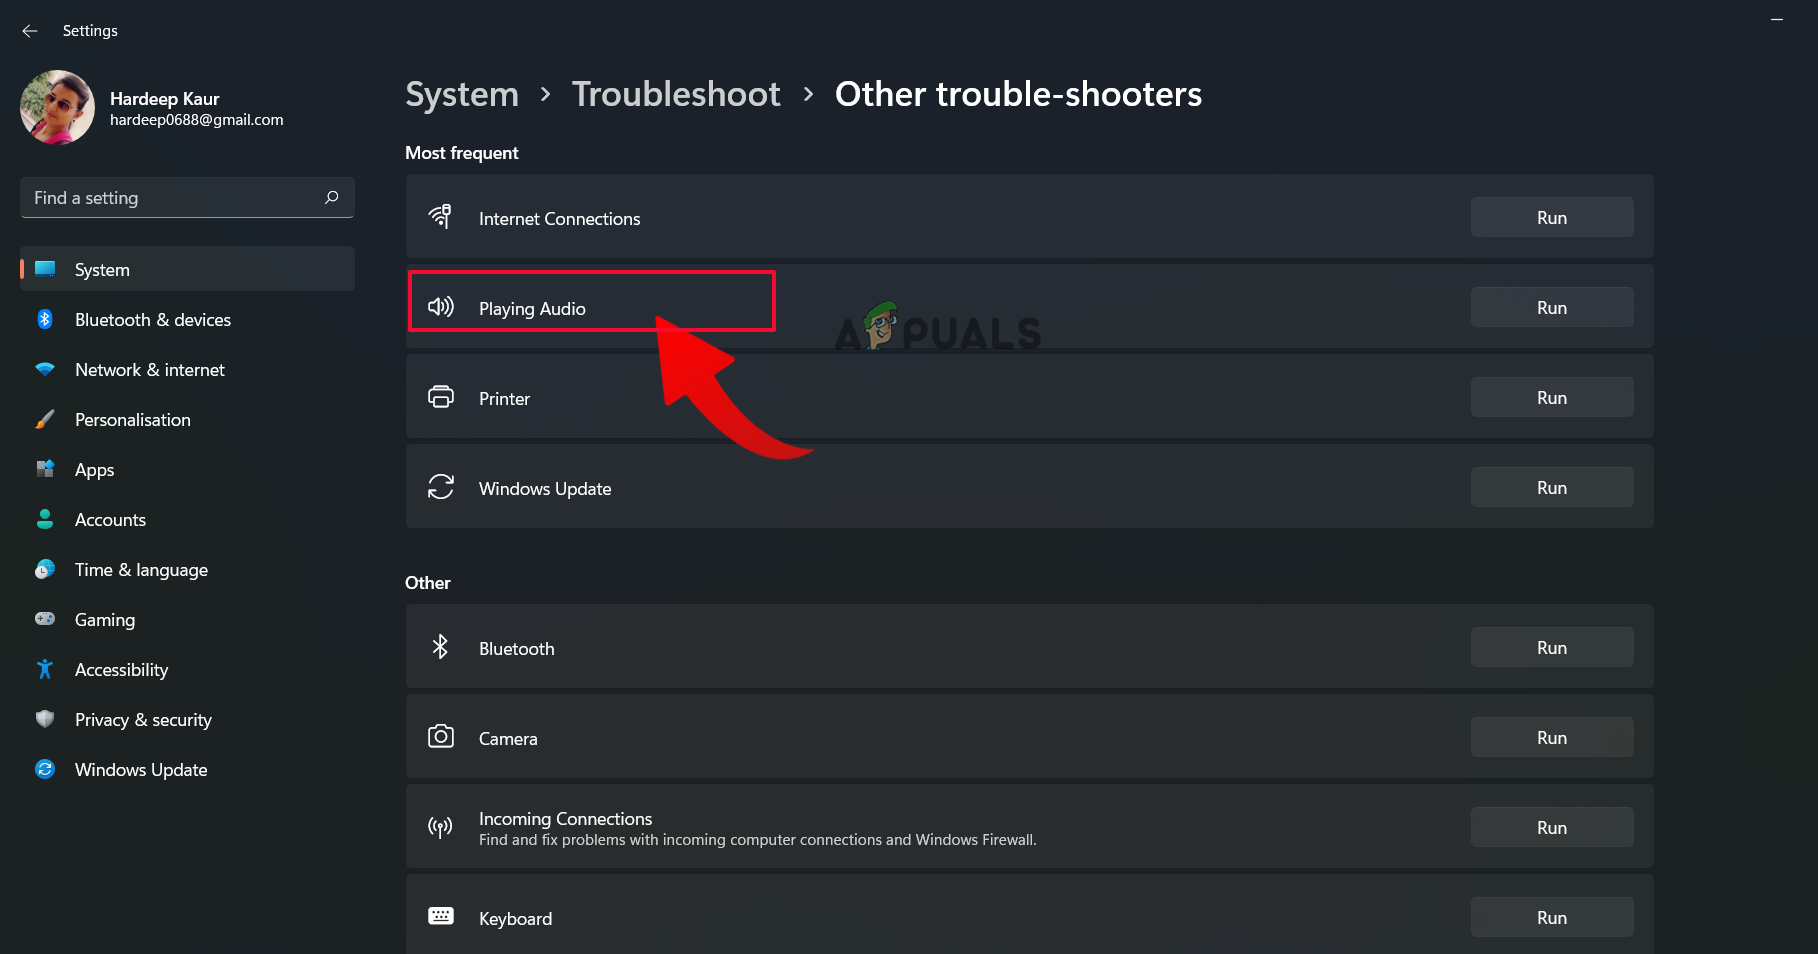
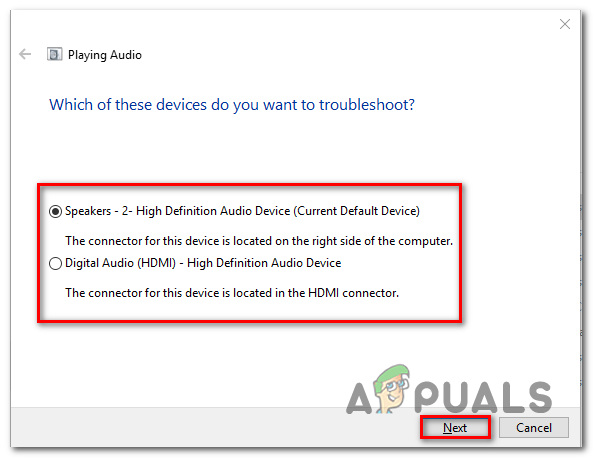
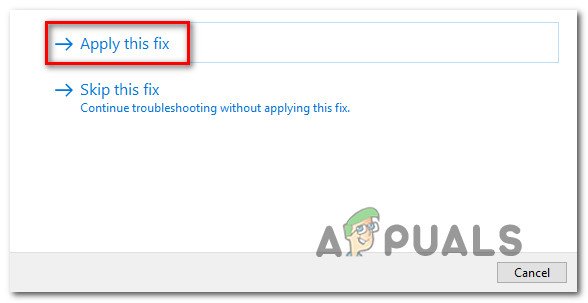
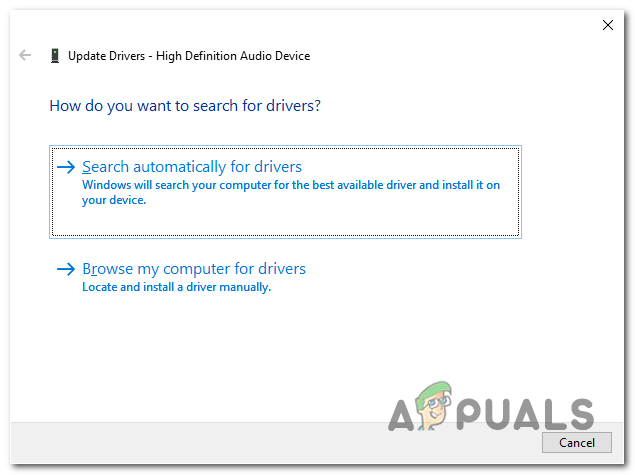
The first thing you should check when resolving this specific issue is whether your Windows 11 installation can resolve this problem automatically. It turns out that Microsoft is already aware of this issue, and the developers have already released a few automatic solutions to address the volume mixer issue on Windows 11. You must run the Audio Troubleshooter and implement the suggested remedy to benefit from these automatic fixes. Many impacted customers have validated this repair, especially those that updated from Windows 10 to Windows 11 rather than completely installing the newest operating system. To launch the Audio Troubleshooter and carry out the suggested repair on Windows 11, adhere to the steps listed below: If the problem is still not fixed, move to the following method below.
2. Update the Generic Audio Driver
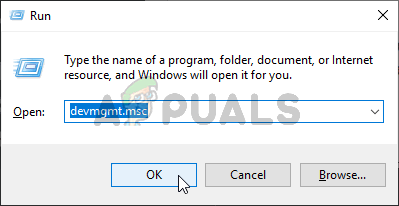
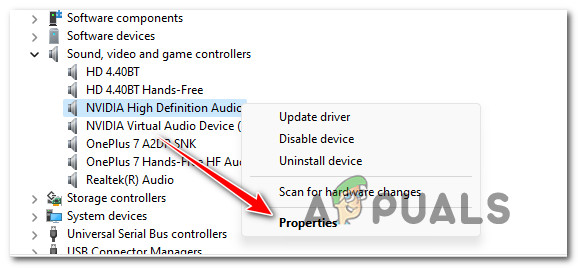
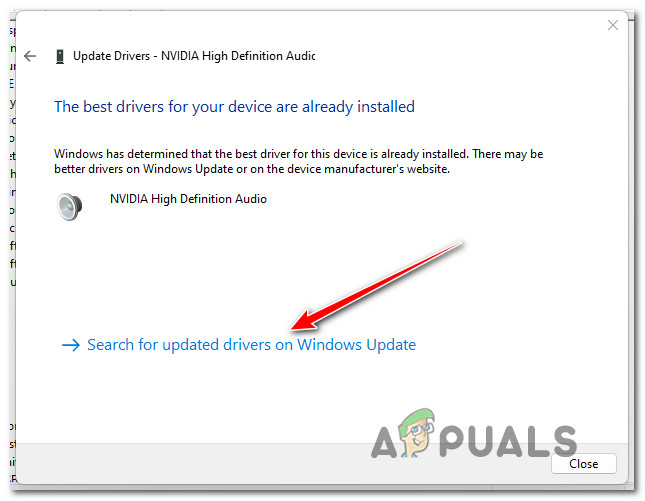
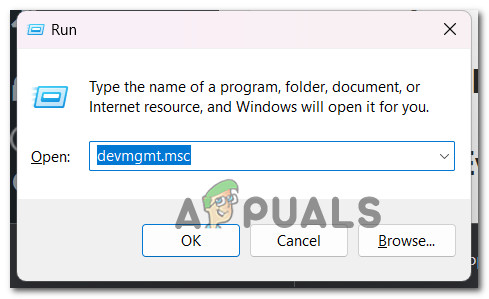
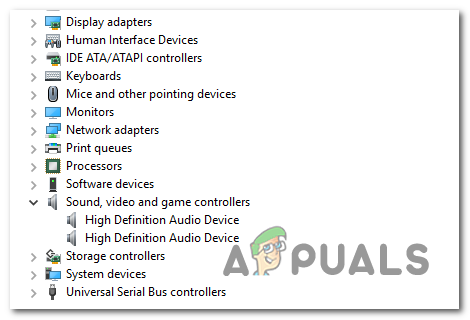
The next thing you should do is make sure that the audio driver you’re presently using is updated to the most recent version of the troubleshooter didn’t help your situation. Windows Update should automatically update and maintain this driver. However, there are times when an out-of-date audio driver that is incompatible with your current OS version leaves you helpless. It has been reported by several Windows 11 users that the issue was ultimately resolved when they utilized Device Manager to compel your OS to update the driver. What you must do is as follows: If you’re still unable to access the Volume Mixer on your Windows 11 computer, move down to the next method below.
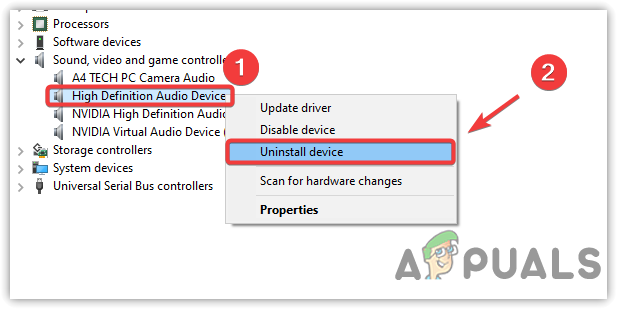
3. Uninstall the Realtek driver
One additional circumstance that is prevalent might be harming Windows 11’s Volume Mixer component. If you’re utilizing a dedicated audio disk that was transferred from Windows 10 or Windows 8.1 after you upgraded the OS to the most recent version rather than performing a clean installation of Windows 11, you may anticipate dealing with this issue, according to other impacted customers. In this situation, it’s likely that your specialized driver does not completely support Windows 11. To solve this issue, you must delete the existing specialized driver and switch to a generic audio counterpart. The steps listed below should help if you’re seeking explicit instructions on how to achieve this: If the same problem is still occurring, move to the next method below.
4. Disable Exclusive Mode
This problem arises in some instances because a volume mixer-managed program is intended to transport DTS or DOLBY bitstreams across HDMI or SPDIF. These streams are impermeable because the audio has already been encoded; no audio can be added to them as they travel to a receiver like a TV. This is the cause of your inability to use the volume mixer interface if you are utilizing DTS or Dolby bitstreams over HDMI or SPDIF. Fortunately, turning off Exclusive Mode for the Playback device you’re using right now will fix the problem in this instance. When Exclusive Mode was turned off, and the computer was rebooted, according to several impacted users, the problem was fixed. What you must do is as follows: If the problem is still not fixed and you cannot access the volume mixer frame, move down to the next method below.
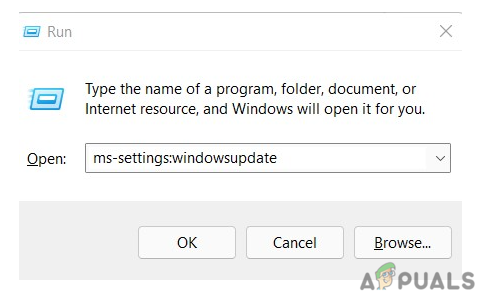
5. Install pending Windows Updates
Make sure you are using the most recent build of Windows 11 before attempting any of the other fixes below. As briefly described above, this issue was initially brought on by a flawed Windows Update made available for the Windows 11 development build. Microsoft has now issued several hotfixes that ultimately fixed this issue (if it was caused by a bad update in the first place). For step-by-step instructions on installing each upcoming Windows 11 update to bring your build up to date, see the instructions below: If the problem is still occurring, try the next potential fix below.
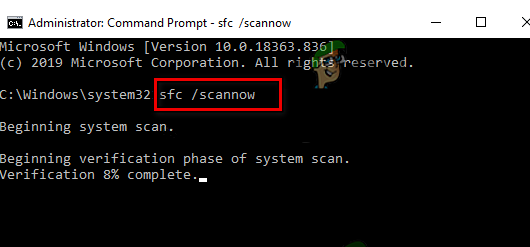
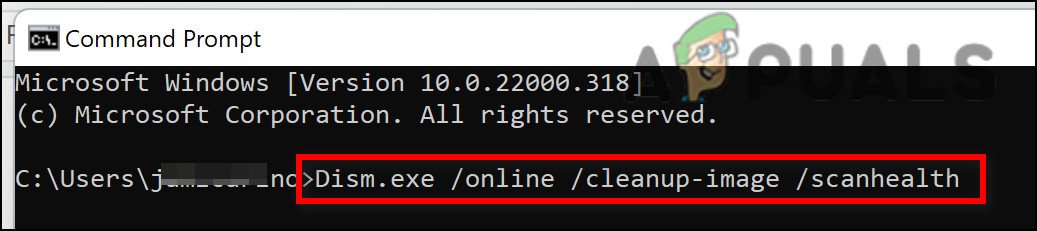
6. Deploy DISM and SFC Scans
If you’ve reached this point without finding a workable solution, you should look into a possible instance of system file corruption that adversely affects your audio outputs. The sensible decision would be to employ a few built-in tools unless you wish to take the third-party way (SFC and DISM). Note: The system file corruption that can impair your OS’s capacity to address dependencies utilized by Windows Update can be fixed using these two built-in programs. Note: The two built-in utilities, System File Checker and Deployment Image Servicing and Management, can resolve the most frequent types of corruption that might result in this problem. A System File Checker scan is the best place to start because it doesn’t need a steady internet connection. Note: To replace damaged system file components with working ones, System File Checker employs a locally held cache. This procedure shouldn’t be stopped until it’s complete to prevent more logical mistakes. Depending on your read and write speeds, this procedure might take up to an hour or longer if you’re using an old-school HDD rather than a more recent SSD. Important: If the System File Checker scan briefly freezes while running in your case, wait for the real-time tracking to resume before closing the window. Restart your computer when the SFC scan is finished to determine whether the voice mixer problem has been resolved. Continue by doing a DISM scan if the issue is still present. Note: Ensure your Internet connection is steady before beginning this operation since DISM uses a sub-component of Windows Update to replace damaged files with counterparts free of corruption. Restart your computer after completing the SFC and DISM checks to determine whether the audio problems with your Windows 11 machine have been resolved. Continue to the final suggested solution below if the issue is still present.
7. Use a system restore point
If you’ve gone this far without finding a workable solution, you should investigate the possibility of driver compatibility (especially if this problem started occurring after you installed or updated an app). It wouldn’t hurt to start utilizing System Restore to return your computer to a time when this conflict was not there if you only recently became aware of this problem after making a specific modification (a new driver installation, a driver swap, the installation of new software, etc.). IMPORTANT: System Restoration is set up to produce and save fresh restore snapshots in response to significant system events. You ought to have a ton of restoration snapshots to pick from unless you change this default behavior. By deploying a previously saved System Restore point described in this tutorial, you will receive detailed instructions on applying this repair. With this procedure, you can return your PC to a prior condition when this problem was not present. Once the operation is complete, check whether the Windows 11 volume mixer problem is still there after using the previous approach to get your PC back to a working state. Change to the technique below if the issue is still not fixed.
8. Deploy a clean install or repair install procedure
If none of the earlier suggestions in this article were successful in aiding you in solving your issue, there is one last fix at your disposal. At this point, you should think about the possibility of your incapacity to connect your headset due to corrupted sound requirements. Since numerous system files, in this case, fit the offender’s profile, the best course of action is to just replace every system file with a counterpart that you know is healthy and untouched by corruption. You may achieve this using any of two methods: • Clean install – Give this a shot if you’re looking for a quick fix. The biggest drawback of clean installing Windows is that it will delete all of your personal files and applications that are now stored on the same drive as your operating system unless you have a backup of your data beforehand. This is because a clean installation of Windows will enable you to replace all system files without the usage of installation discs. • In-place repair vs. repair install – If you have some free time, we suggest using an in-place repair. The essential advantage of this process is that your personal data, games, and apps are kept intact, even though it is a little more time-consuming and requires appropriate Windows 11 installation DVDs.
Fix: Volume Mixer Won’t OpenFix: Make Sure the File is an NTFS Volume and isn’t in a Compressed Folder or…Fix: Microsoft Mixer Broadcasting ErrorRenowned Twitch Streamer Shroud Leaves Platform For Mixer