In addition, to top it all off, Windows 10’s graphical bootloader performs an additional reboot every single time you choose to boot into Windows 7 instead of Windows 10, and this can be pretty annoying and time-consuming. However, thankfully, anyone who dual boots Windows 10 with Windows 7 can save themselves from the menace that is the graphical bootloader by simply switching to the classic Windows 7 bootloader (or the Legacy bootloader). Yes, that’s right, it is entirely possible for you to switch to the beloved text-based bootloader from Windows 7 that provides you with a list of installed Operating Systems from which you can choose which OS you want to boot into. Replacing Windows 10’s graphical boot manager with Windows 7’s Legacy bootloader is a pretty simple process, and the following are the exact steps that you need to perform in order to do so: Right-click on the Start Menu button to open the WinX Menu or Hold the Windows Key and Press X Click on Command Prompt (Admin) to launch an elevated Command Prompt. Type the following into the elevated Command Prompt and press Enter: Exit the elevated Command Prompt.
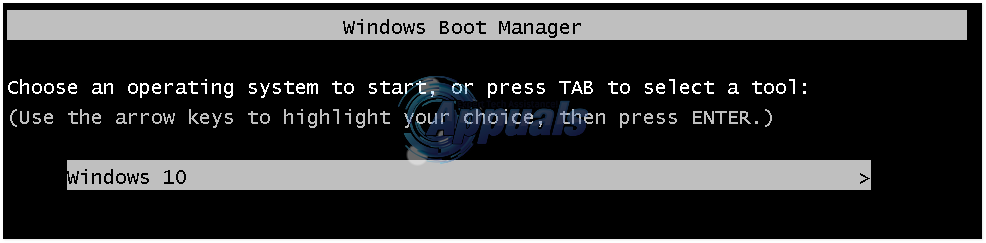
When you reboot your computer, you will see that your bootloader has been switched to Windows 7’s Legacy
Note: To switch back to the graphical bootloader, simply repeat steps 1–4, but, this time, type the following into the elevated Command Prompt:
Fix: Windows 11 Won’t Boot After Enabling Secure BootFix: Can’t Enable Boot Logging in Process Monitor on Windows 10How to Convert UEFI to Legacy BIOS on Windows (7, 8 and 10)[FIX] DirectDraw Error when Playing Legacy Games on Windows 10?