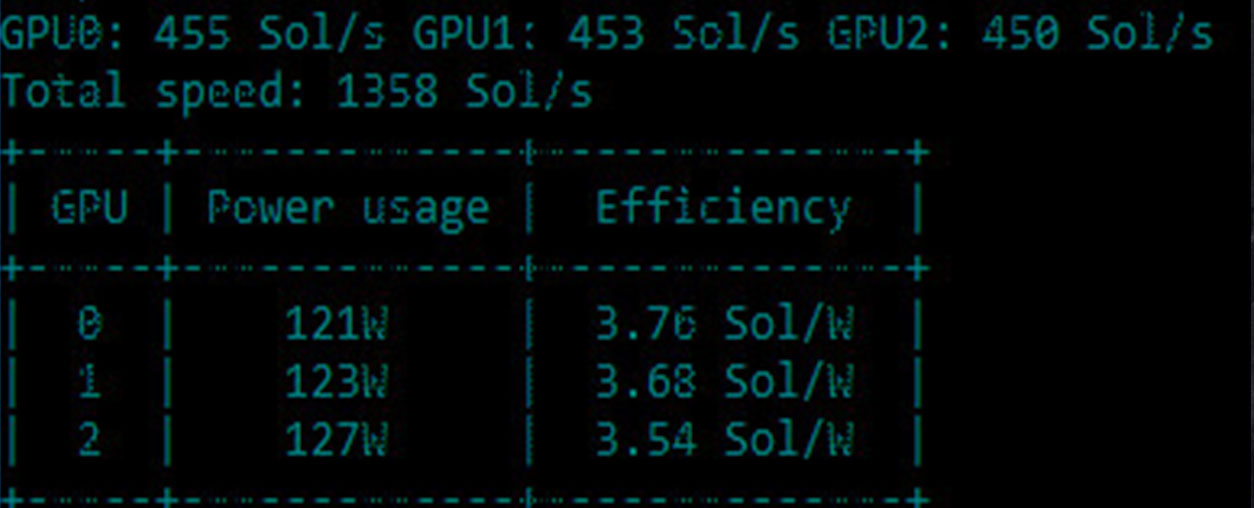
Initially, I have started mining using the Nicehash miner. But, things went wrong, and I was forced to use another miner software. Now, I am mining Zcash using the Equihash algorithm. Each GPU gets 440-450 Hash/s (Sol/s) while mining Zcash – Equihash on stock settings. However, with a little overclocking, I get 450-480 Hash/s (Sol/s) while using 70% power consumption. The overall efficiency of each GPU is 3.5 – 3.9 Sol/W.
On the picture above you can see that each GPU is named with GPU0, GPU1, etc. The number (455 Sol/s) next to each GPU represents the current speed at which that specific GPU resolves the mathematical algorithms. The measuring unit for the mining speed is Sols per second – Sol/s, or Hashes per second Hash/s. With my current 3-GPU setup, I get around 1360 Sol/s (Hash/s) total mining speed. The numbers in the Power usage column (121W, 123W, 127W), display the power that each GPU consumes. You can see that all my GPUs consume from 120W to 130W. And, the most important thing – the efficiency of each GPU. It displays how many Sols (Hashes) each GPU delivers for 1 Watt power consumption. The GPU efficiency can be measured in Sols per Watt (Sol/W) or Hashes per Watt (Hash/W). My GPUs deliver around 3.5-3.9 Sols per Watt (Sol/W). Electricity cost in your country is another crucial factor for the overall profitability of your mining rig. In my case, I pay around $0.08 per KW/h, which puts me in the profitable zone. As long as your daily mining income is higher than your daily electricity cost, your rig is profitable. Keep in mind that the mining difficulty raises over time. Which means, at some point in the future your, mine, and everybody’s rig will become unprofitable. Choosing the right hardware parts when building your rig will ensure you a longer profitability period. Do not go crazy if you don’t understand these numbers. I will get back to this topic with more details in some of the next articles. And, if you are interested how Bitcoin and Crypto mining works, you can check this article. However, today, we will focus on building your own mining rig.
Getting Your Equipment
The whole building procedure has two main steps – getting your equipment and putting it together. Depending on your location, it will take you around a week or so to get all the parts. Then, you will need a couple of hours to put them together and set up your software. It is not much different from building your own custom computer configuration with a few extra graphics cards. So, lets the rig-building-game begin.
Hardware
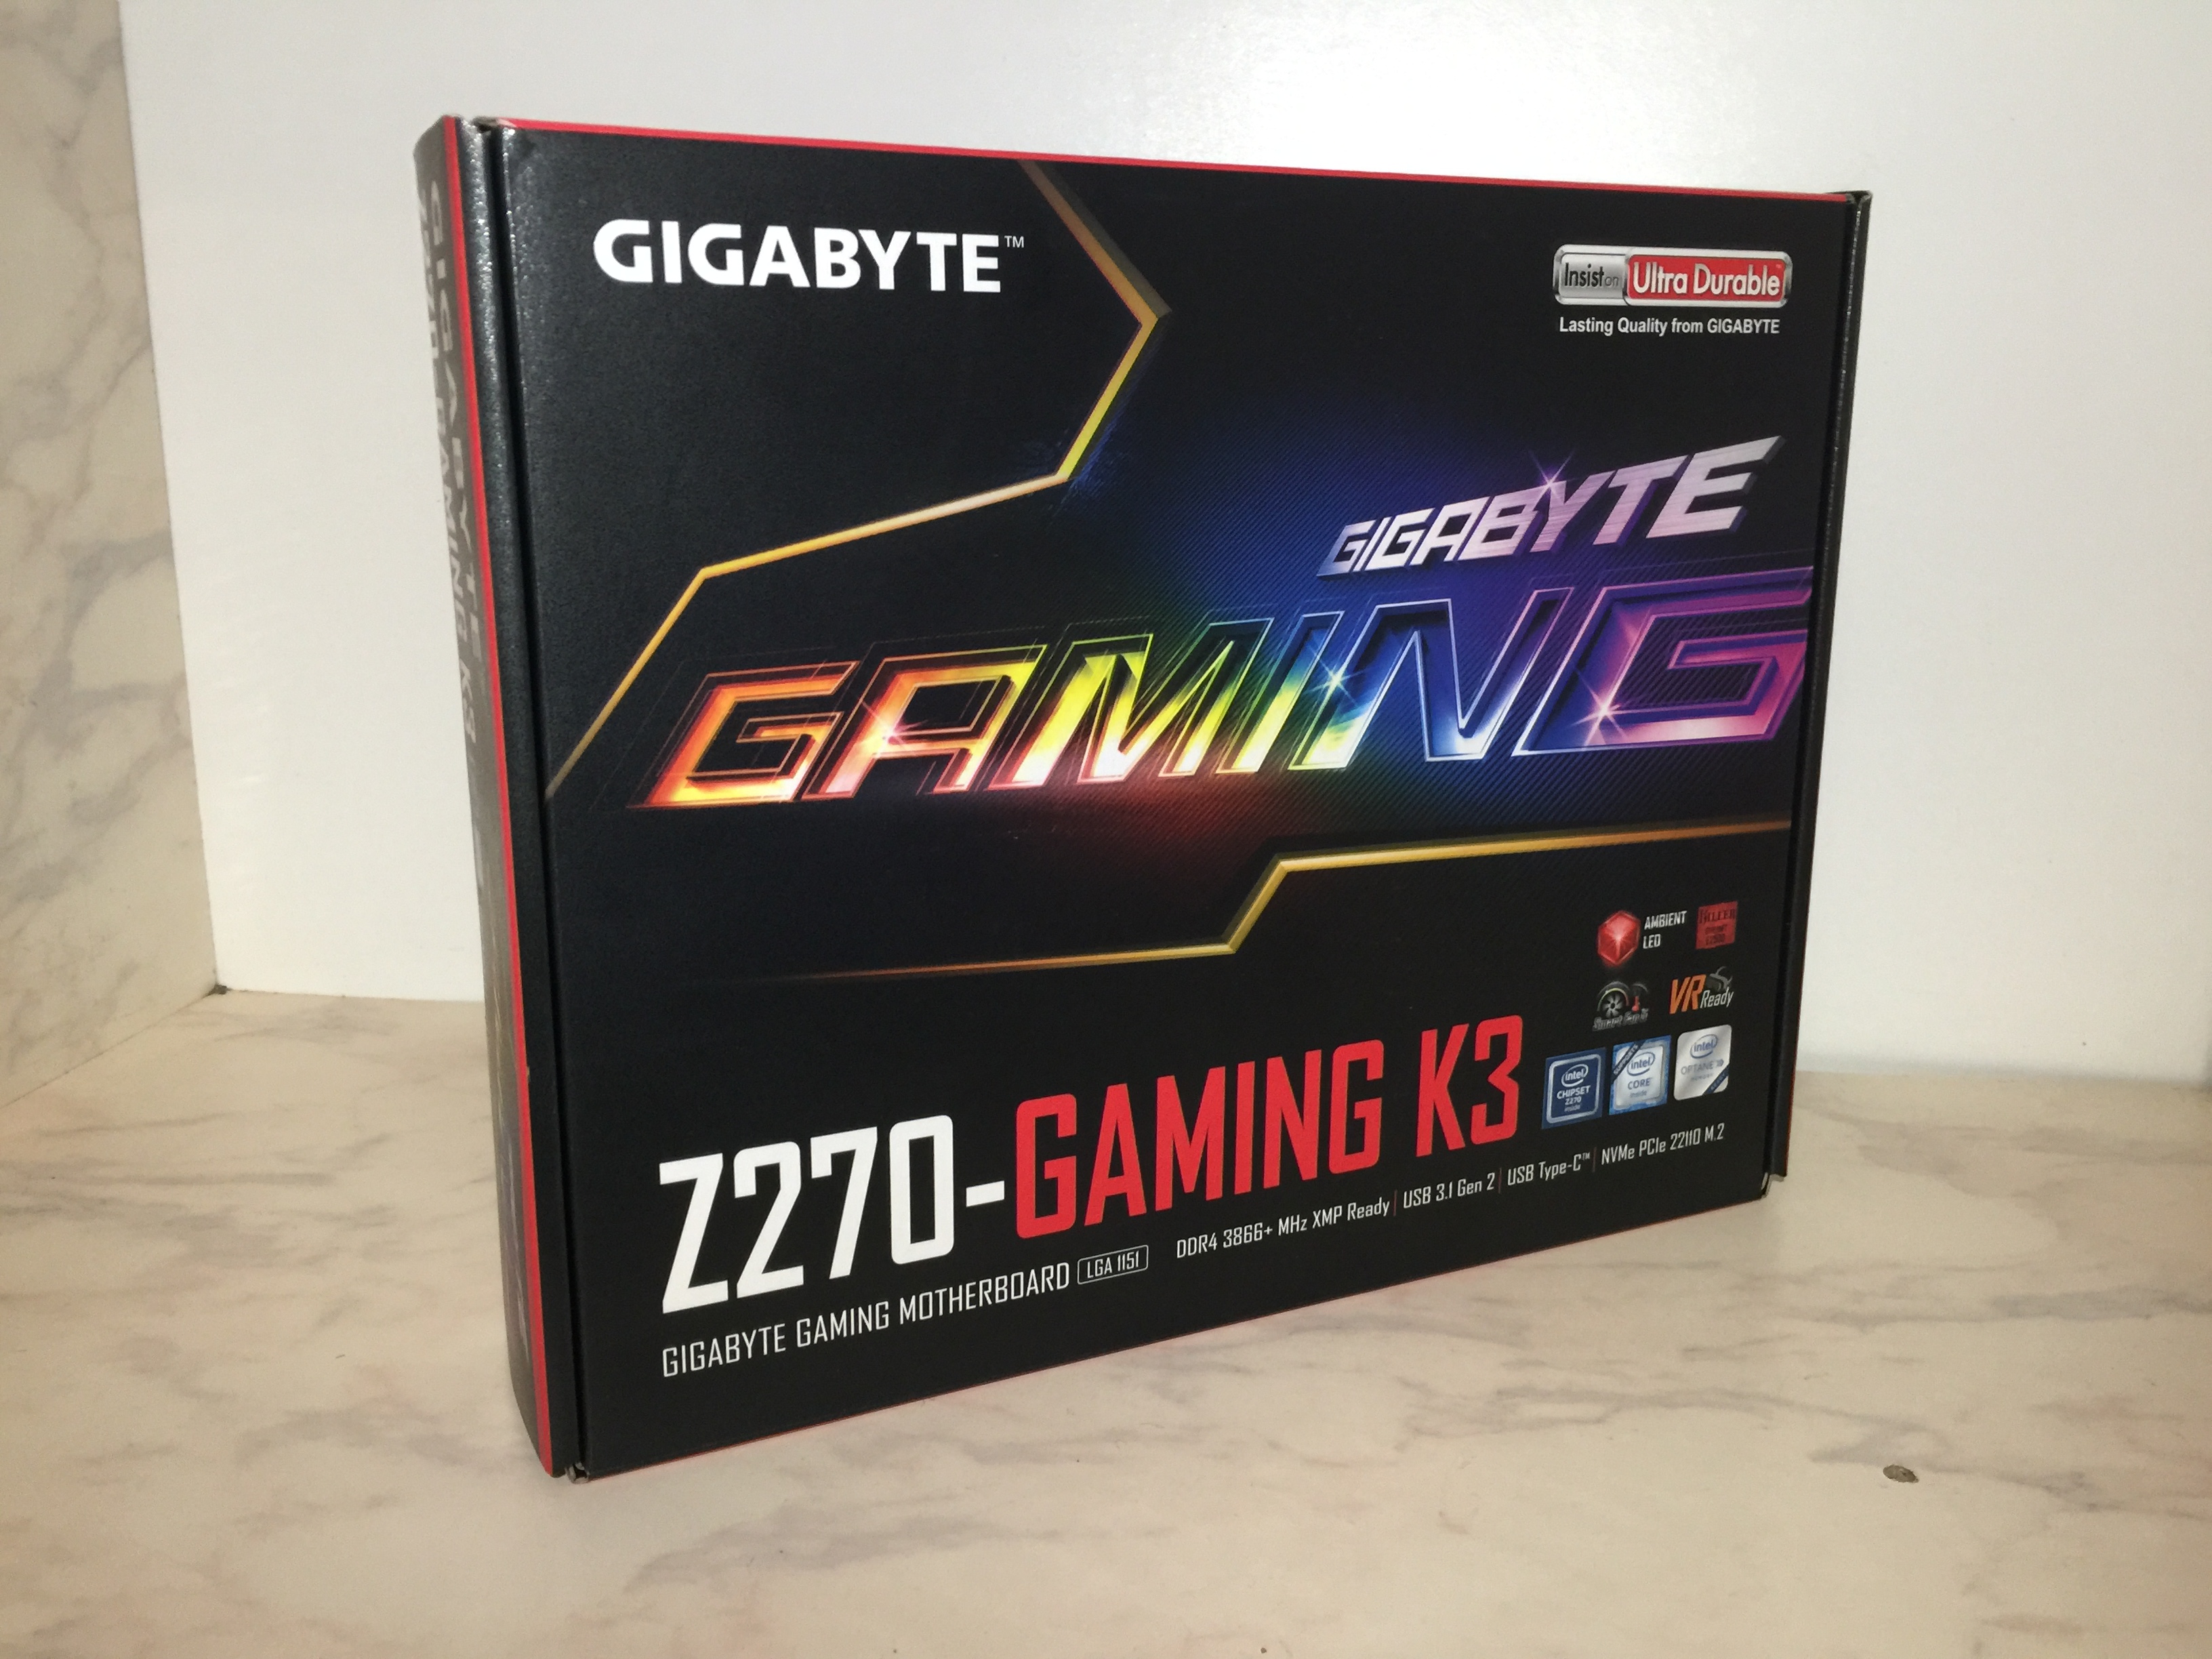
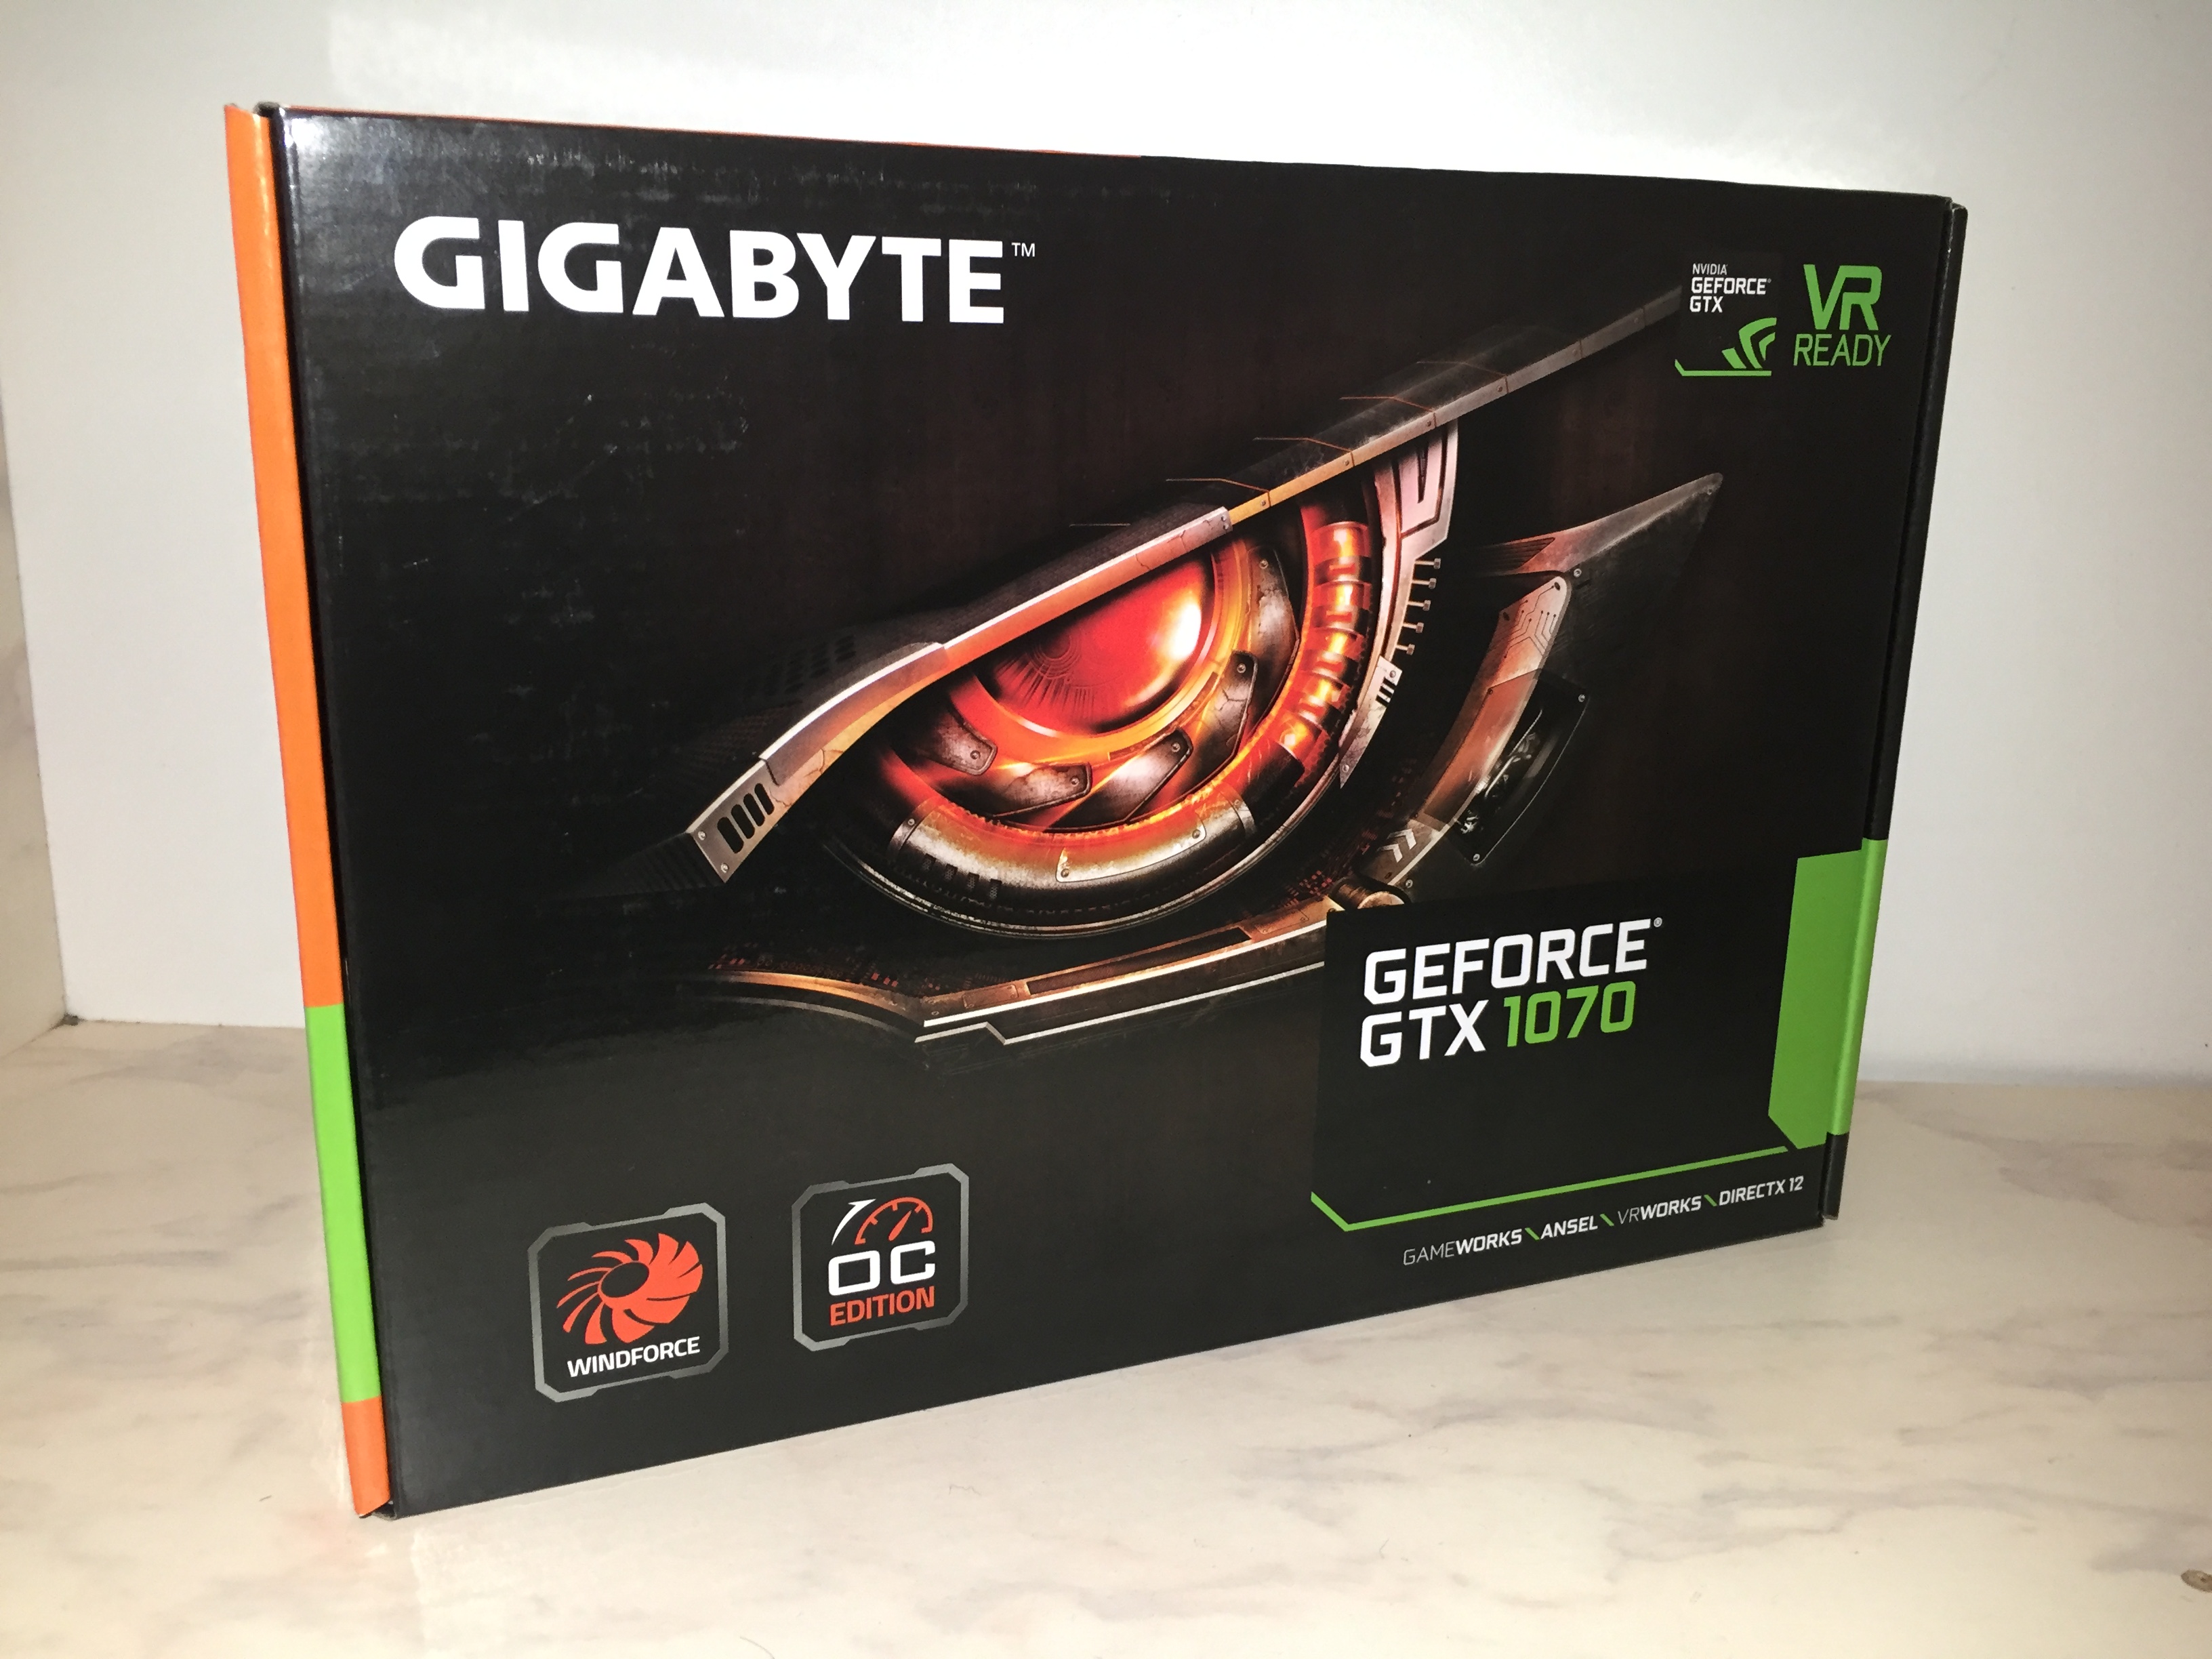
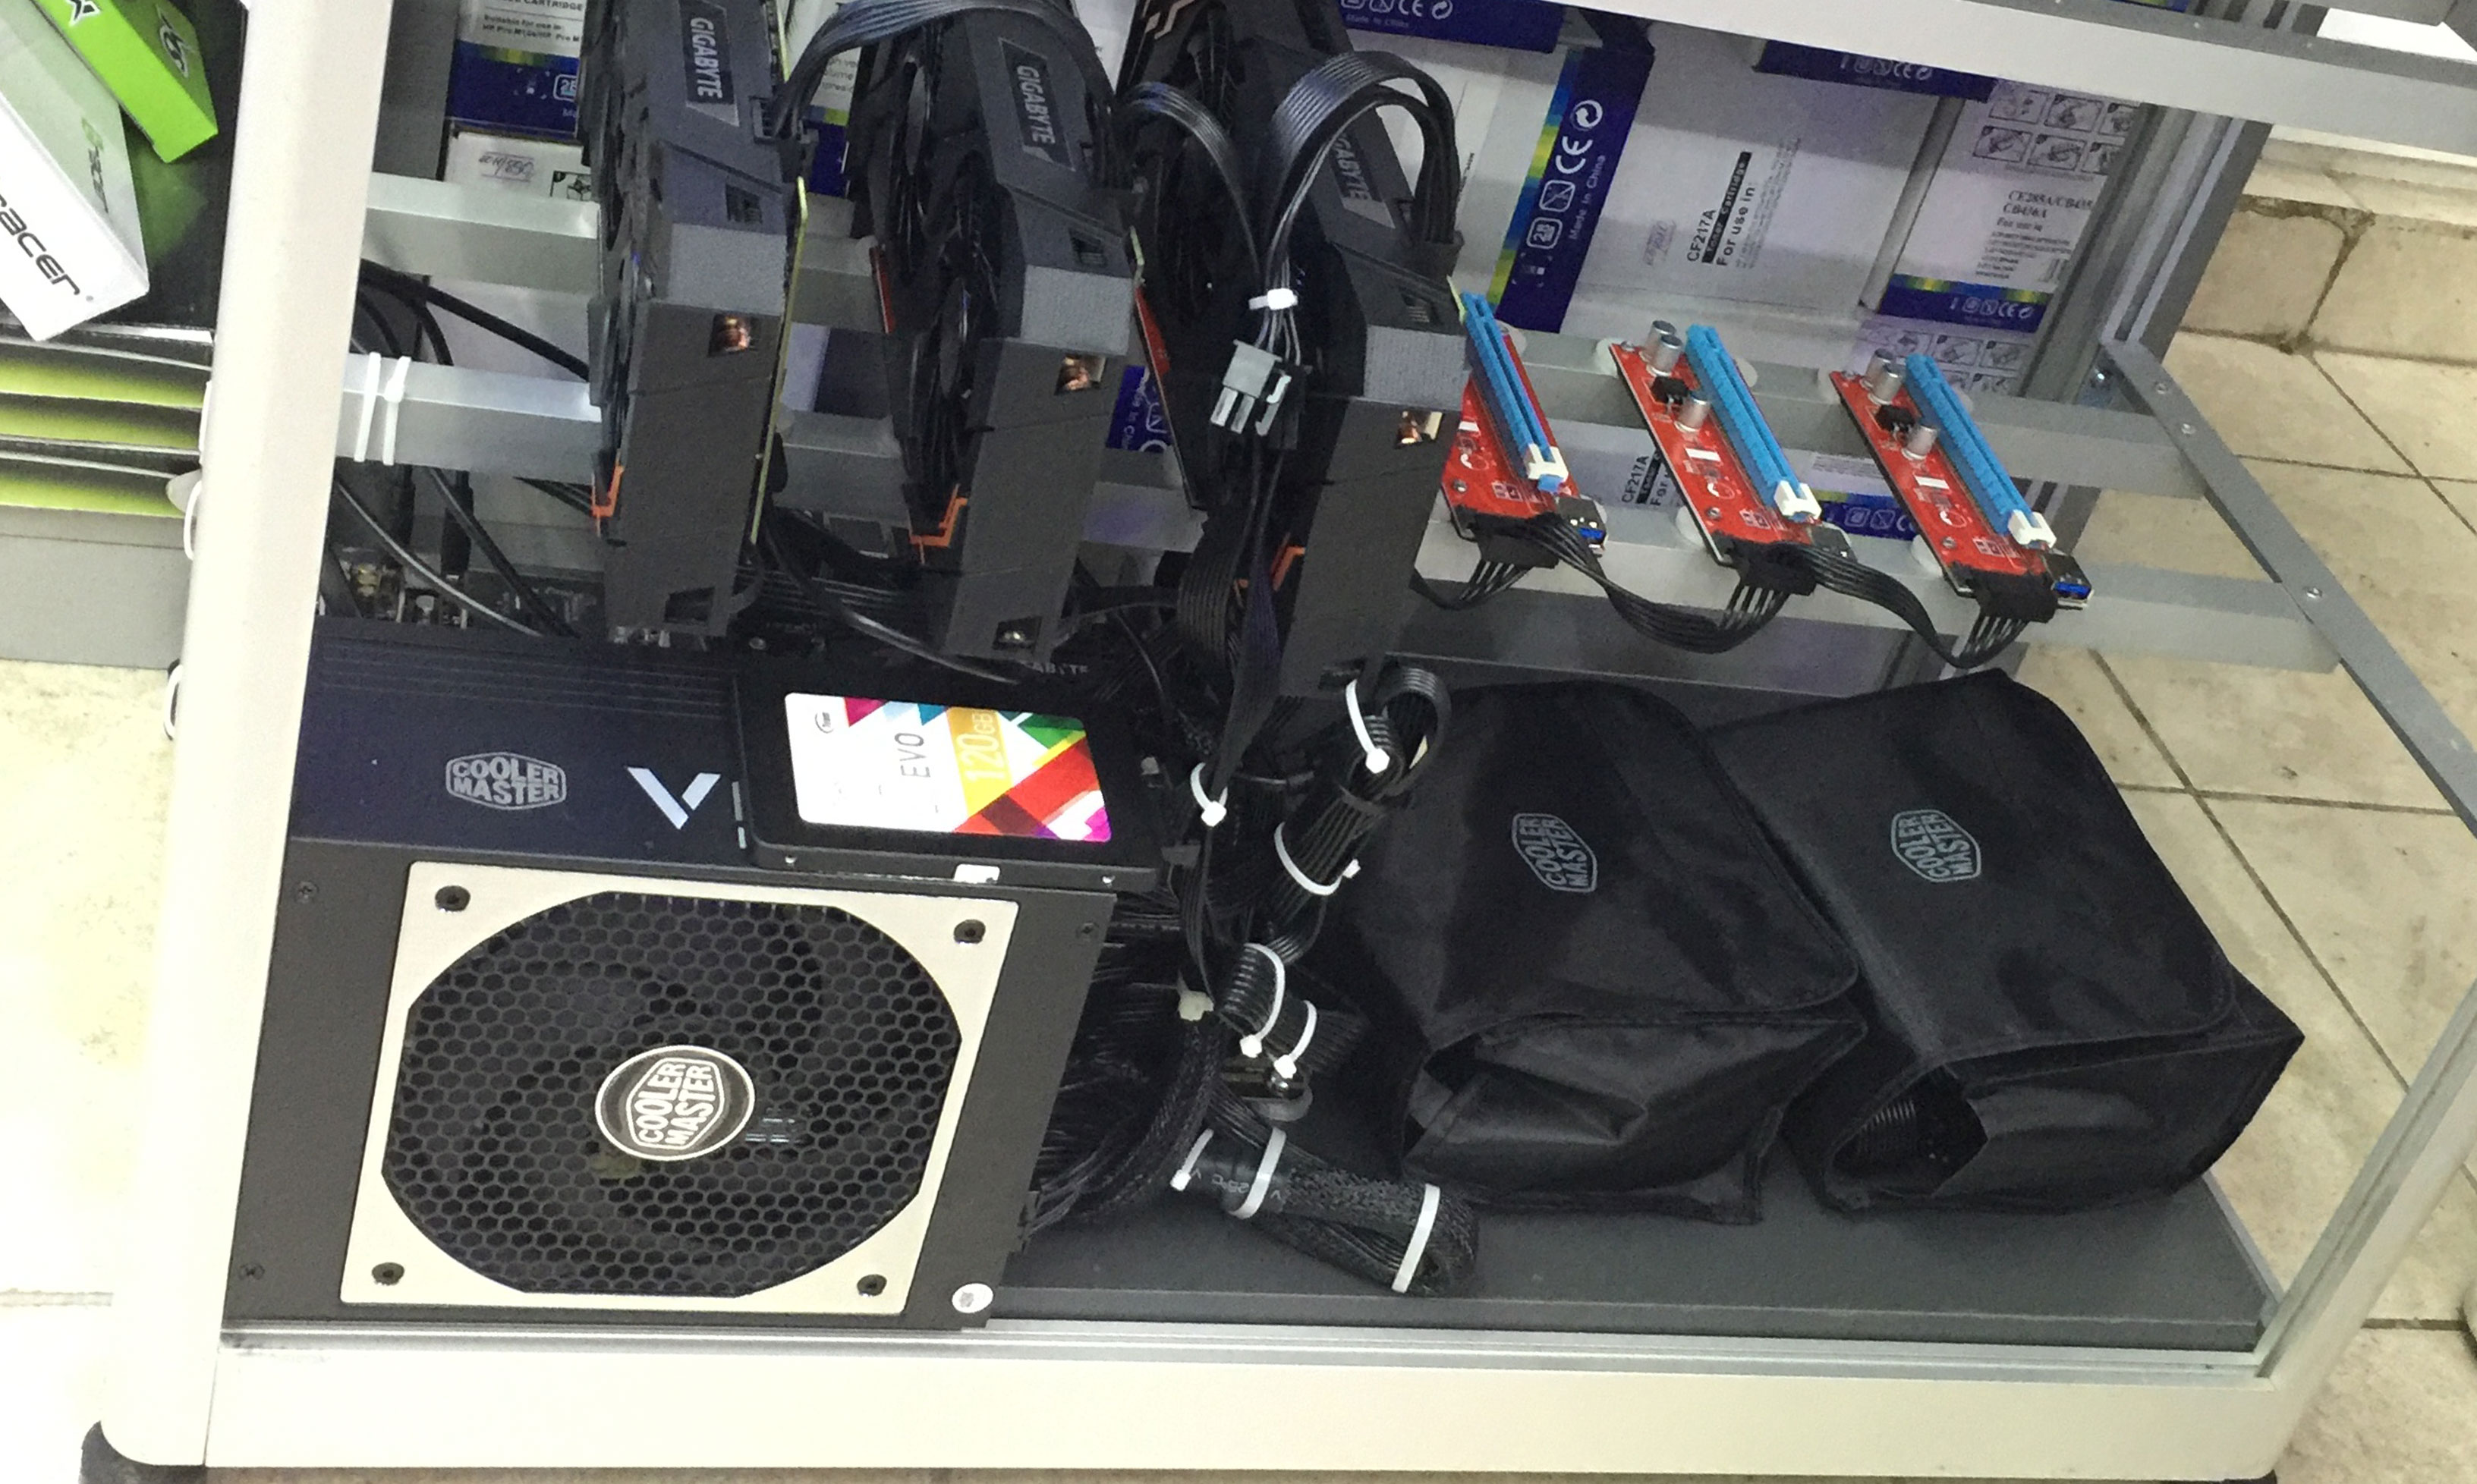
1 x Motherboard – Gigabyte Gaming Motherboard Z270 – Gaming K36 x GPUs (optional) – GeForce GTX 10706 x GPU Raisers (optional) – Fixable PCI-E 16X to 1X Adapter USB3.0 Riser Cable.1 x HDD – Team Group EVO 2.5” 120GB SATA III SSD1 x CPU – Intel Pentium Processor G4400 3.3 GHz1 x RAM – 8GB G.SKILL NT Series 8GB 288-Pin DDR4 SDRAM DDR41 x PSU – Cooler Master V1200 Platinum1 x Case – You can order prebuild or build a custom one.
Motherboard
The motherboard is the brain of your computer and is what you build everything onto. The most important feature that you need when getting a motherboard for a mining rig is the number of GPU (graphics card) slots it has. This will determine how many GPUs it can fit, and how much mining (hashing) power your rig will produce. In my case, I used Gigabyte Gaming Motherboard Z270 – Gaming K3 with 6 GPU (PCI express) slots.
Graphics Cards (GPUs)
Now is the time to pick the GPUs! Some graphics cards cost a fortune but don’t provide much mining (hashing) power, while others have reasonable price and also have better mining performances. The deciding factors here are how much you want to spend, and how powerful rig you want to build. My pick for the most price-vs.-power balanced GPU is GeForce GTX 1070. Note: Keep in mind that you are not obligated to get 6 GPUs at once. You can initially build a rig with 3 GPUs and upgrade to 6 later if having limited funds like me. Also, here is a list of other GPUs you may be interested in when building a rig: GeForce GTX 1060, GeForce GTX 1070 TI, GeForce GTX 1080, GeForce GTX 1080 TI, AMD RX Vega, AMD Radeon R9 Fury. Here you can find the characteristics for most GPUs on today’s market. The hashrate numbers are the main factor when deciding which one is more powerful. (a higher hashrate means a higher income). However, make sure you consider the power consumption before purchasing. If the overall power consumption sum passes 1100 Watts, you will also need to get a more powerful PSU or PSUs than the one I recommend.
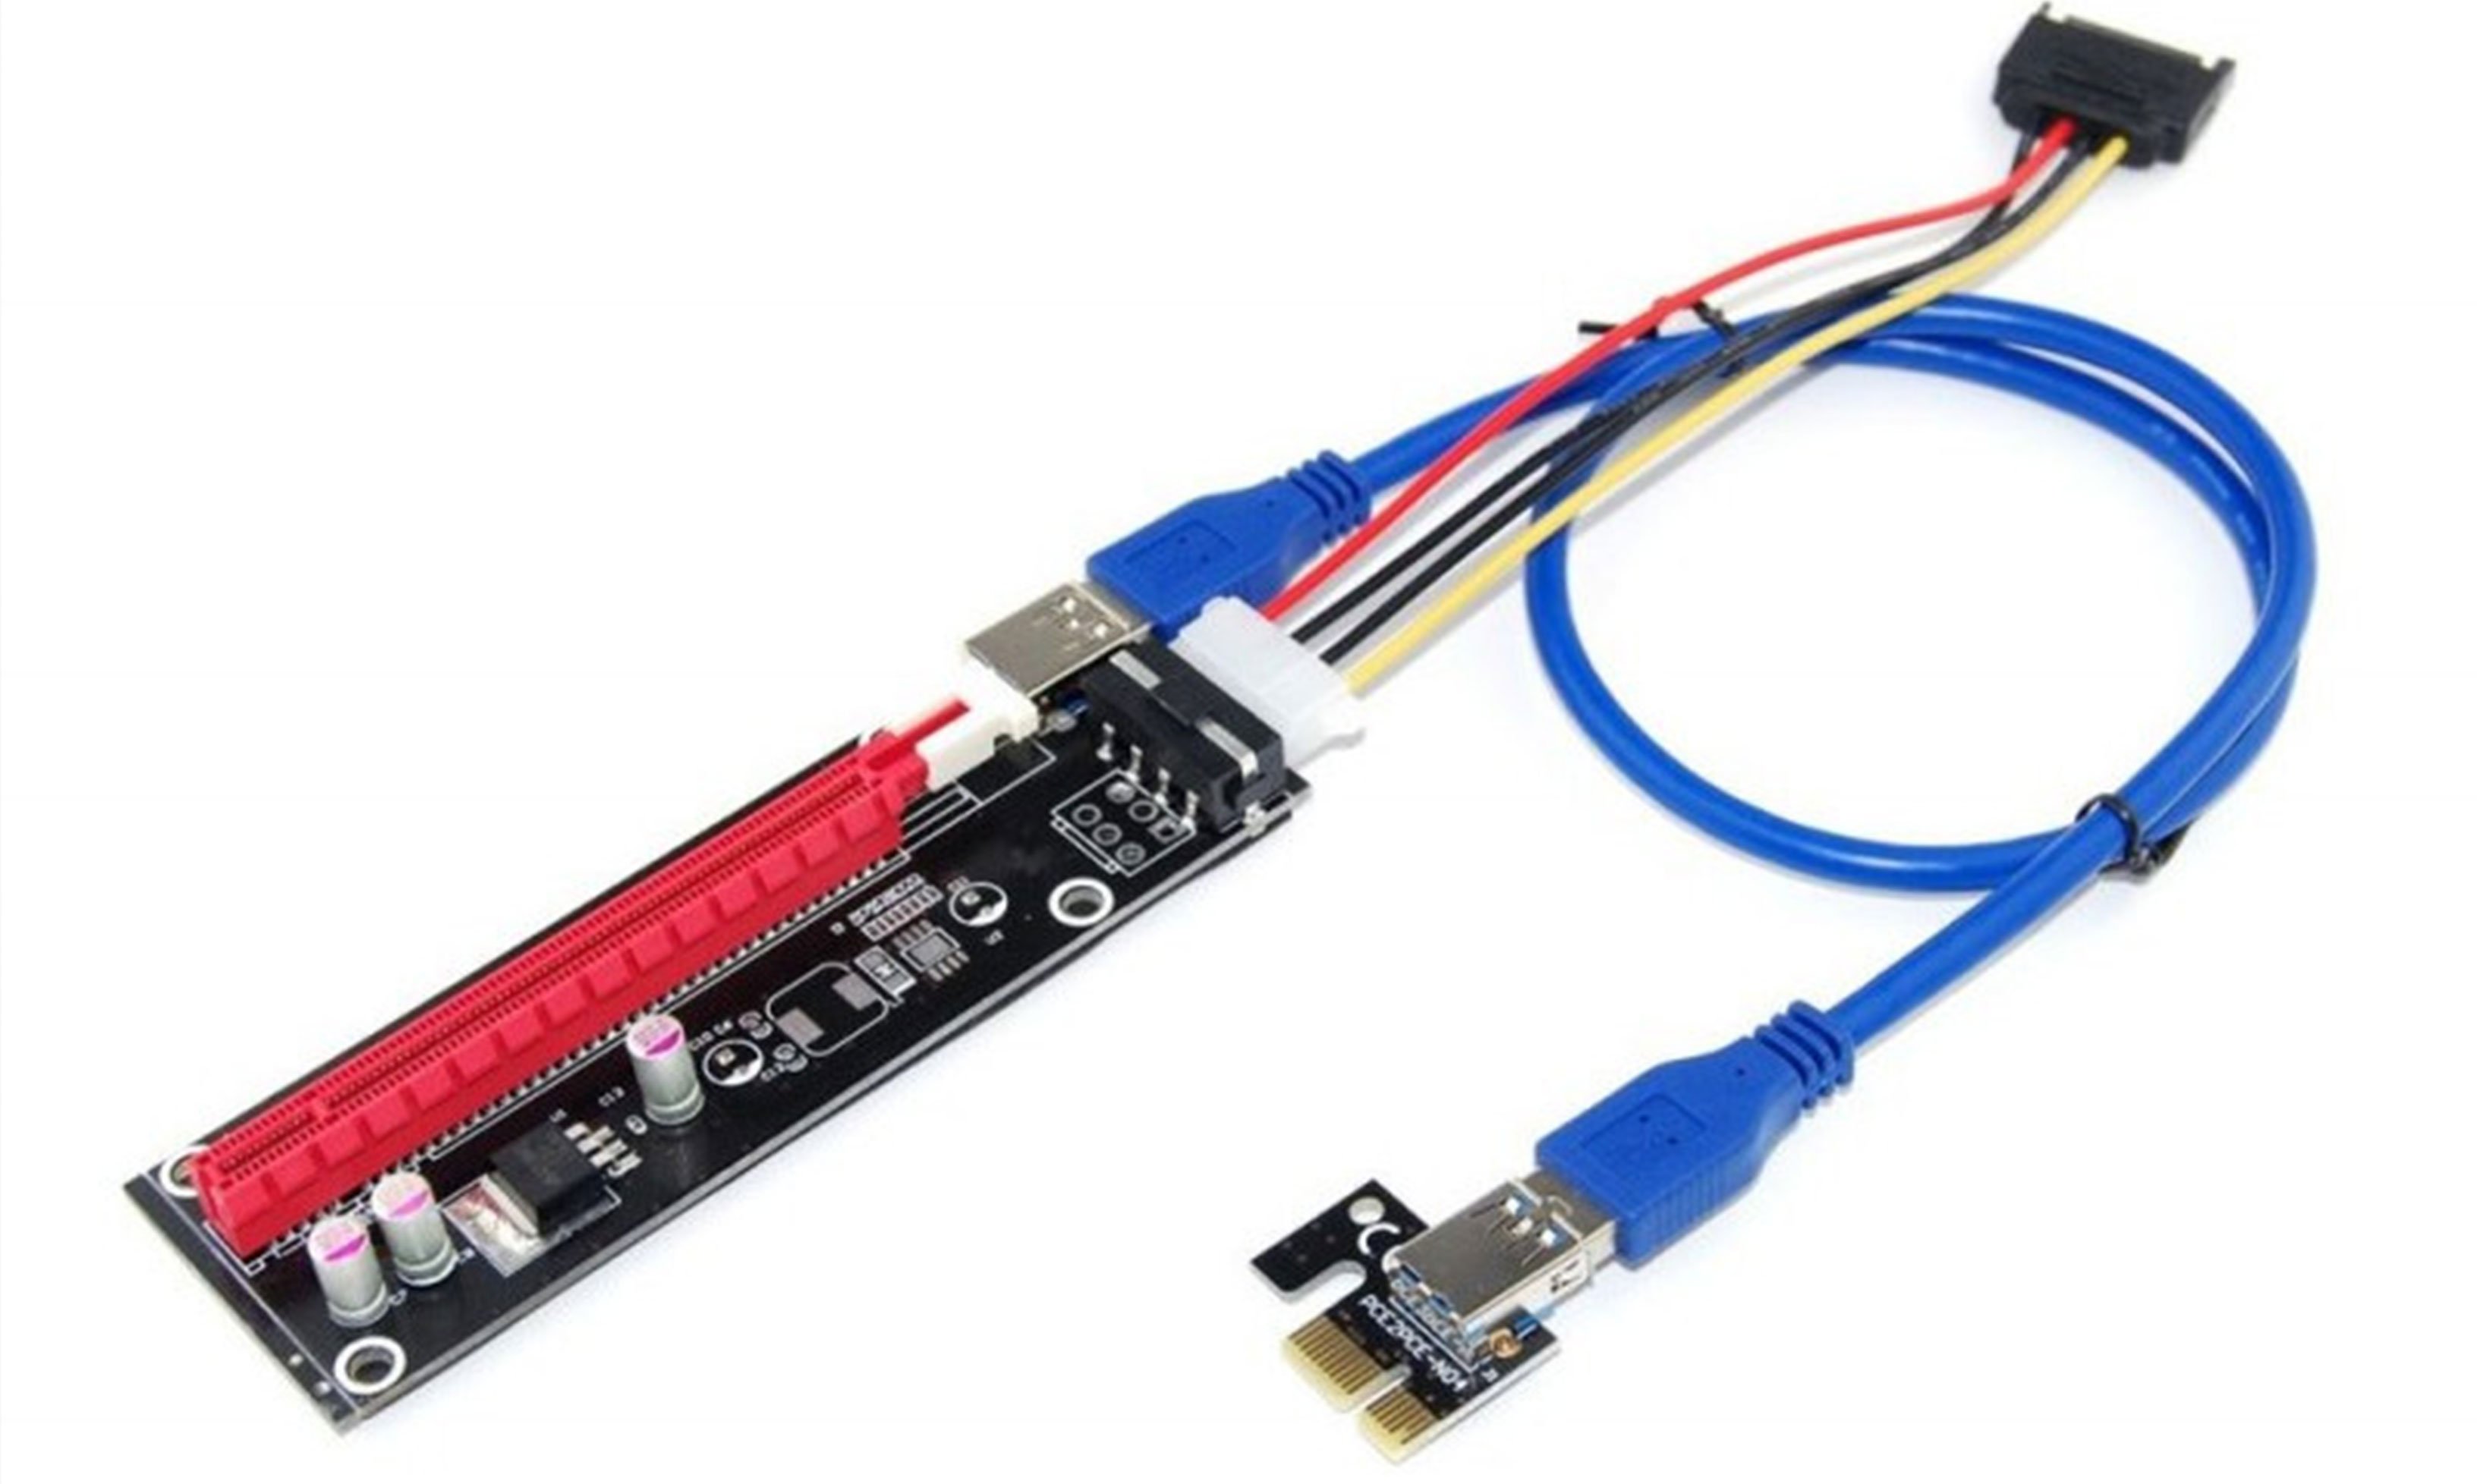
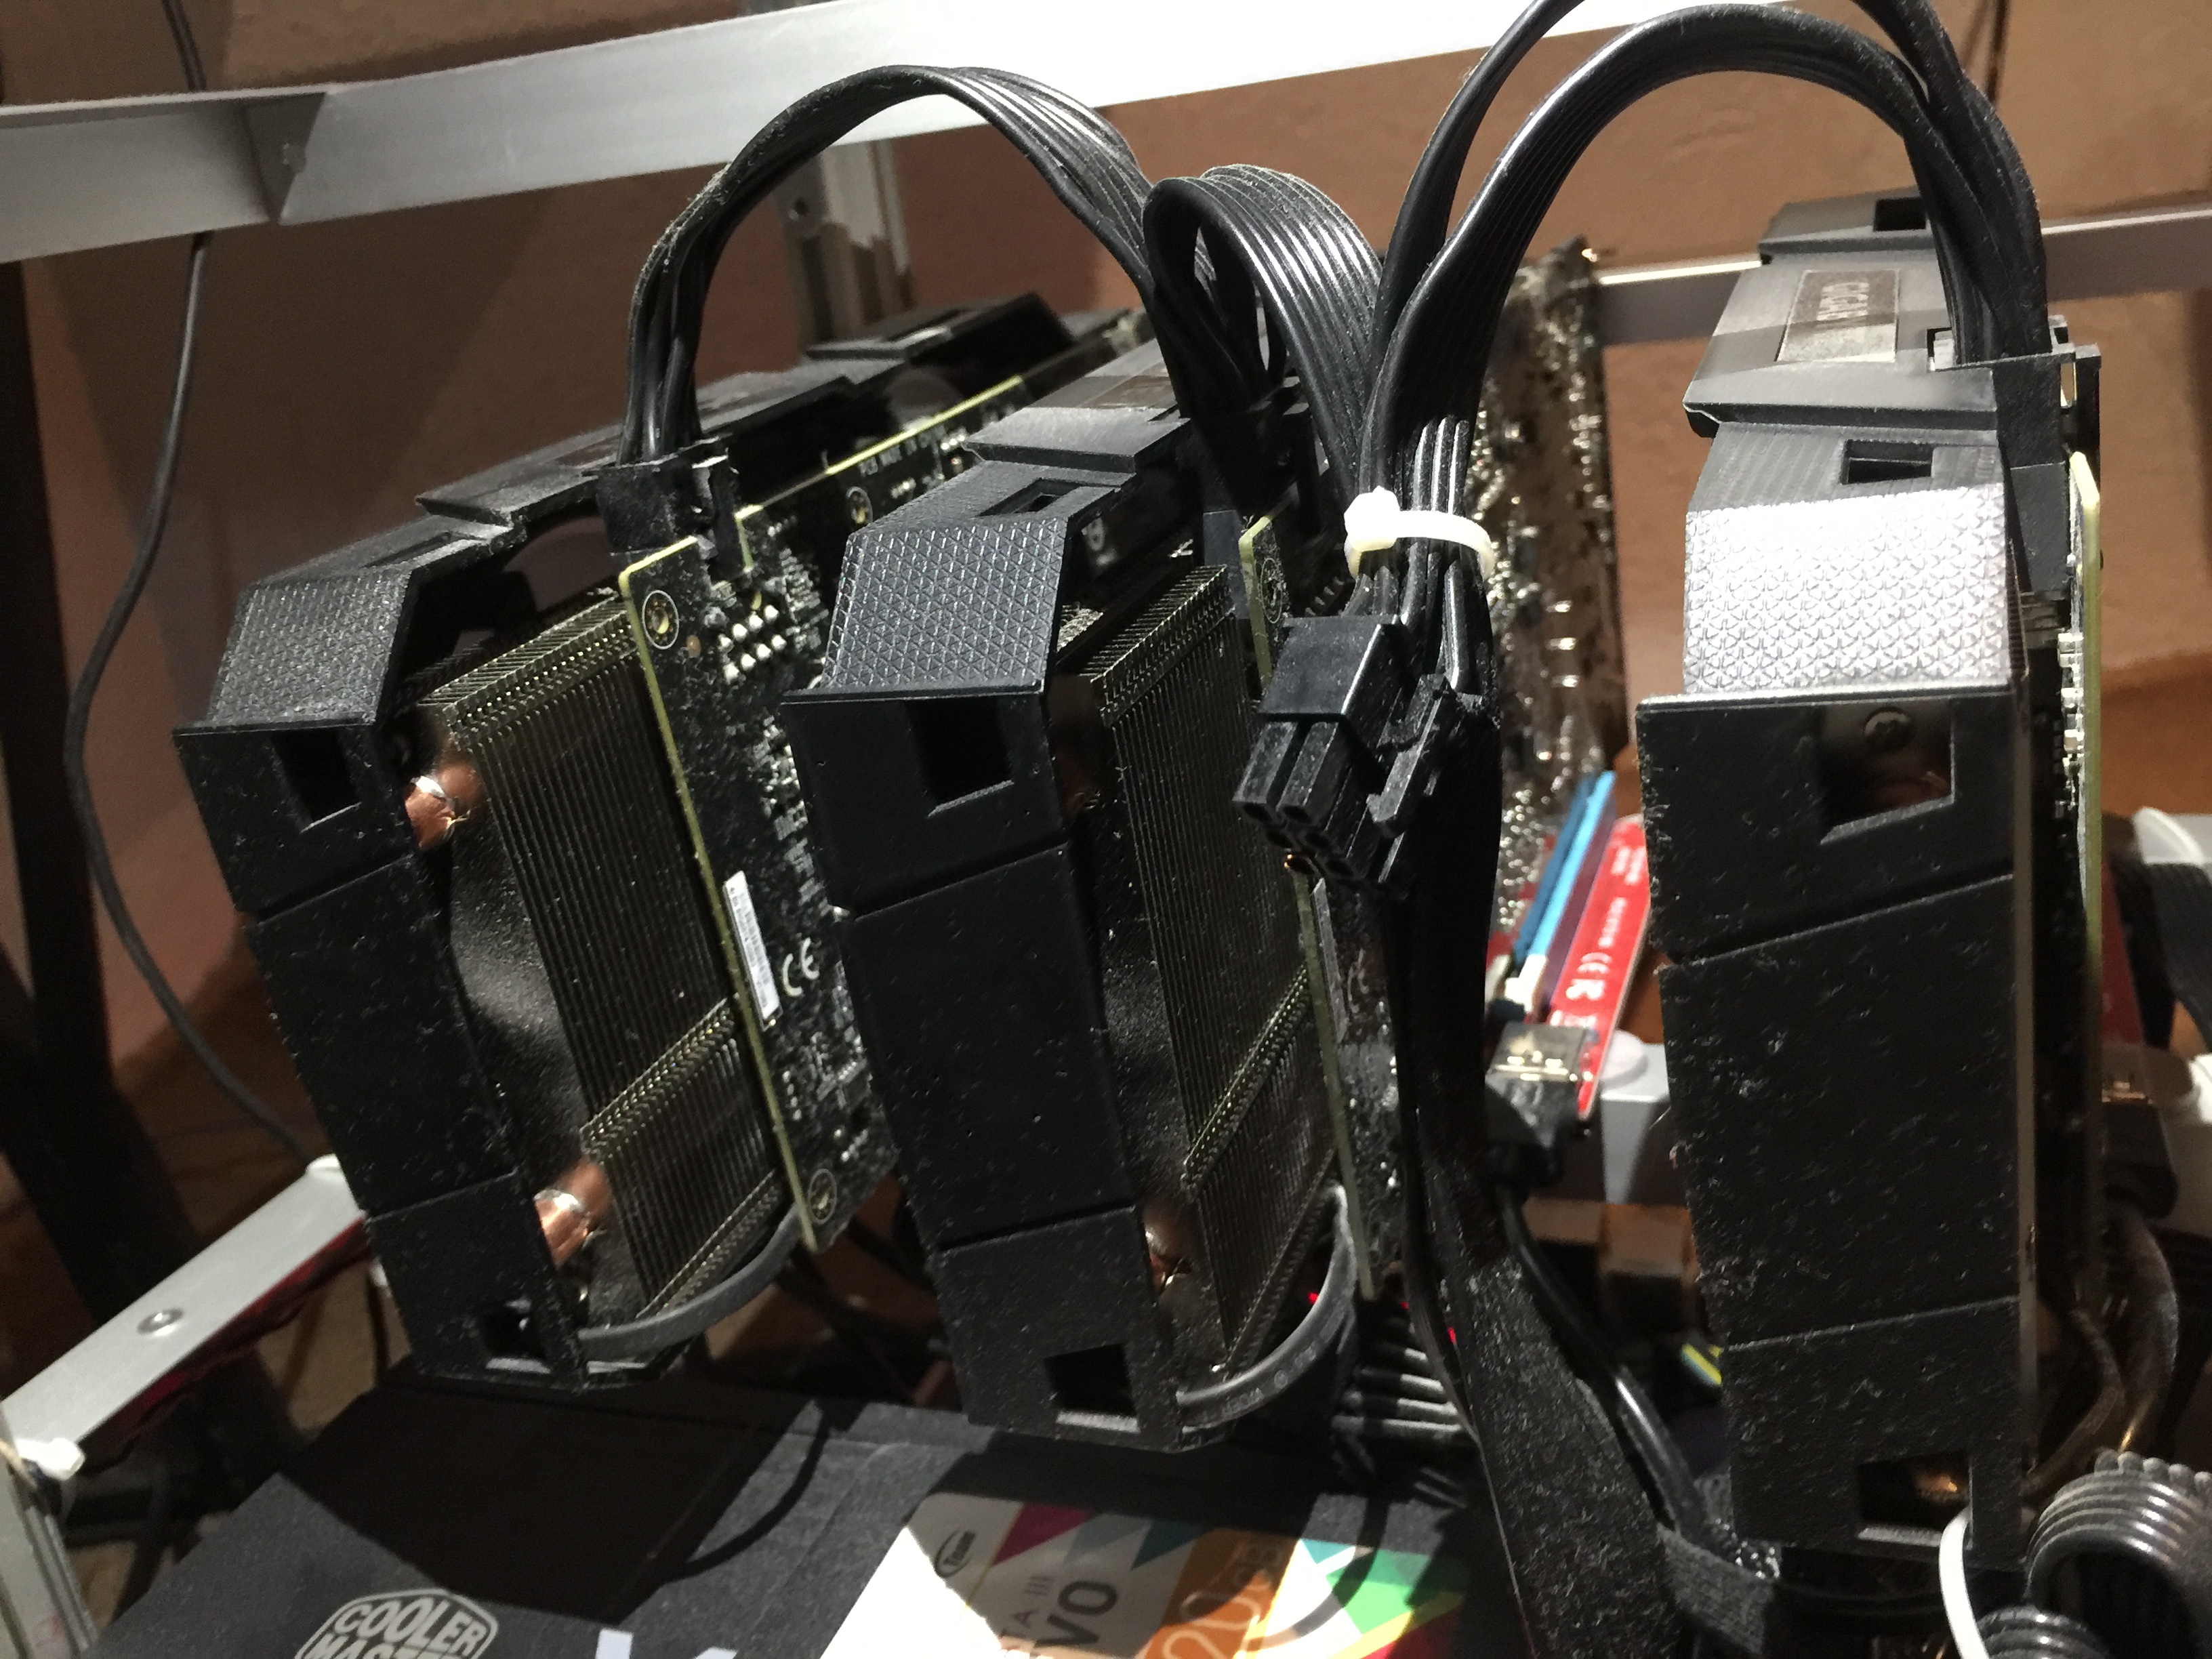
GPU Raisers
One issue that you may have with your motherboard and your graphics cards is that they will not fit in together nicely. The spaces between the GPU (PCI Express) slots on your motherboard are not wide enough so you can plug all your graphics cards. No worries! You can use GPU raisers to extend the PCI Express slots. If you get the recommended GeForce GTX 1070 (or any other GPUs from my list), you will need a raiser for each GPU.
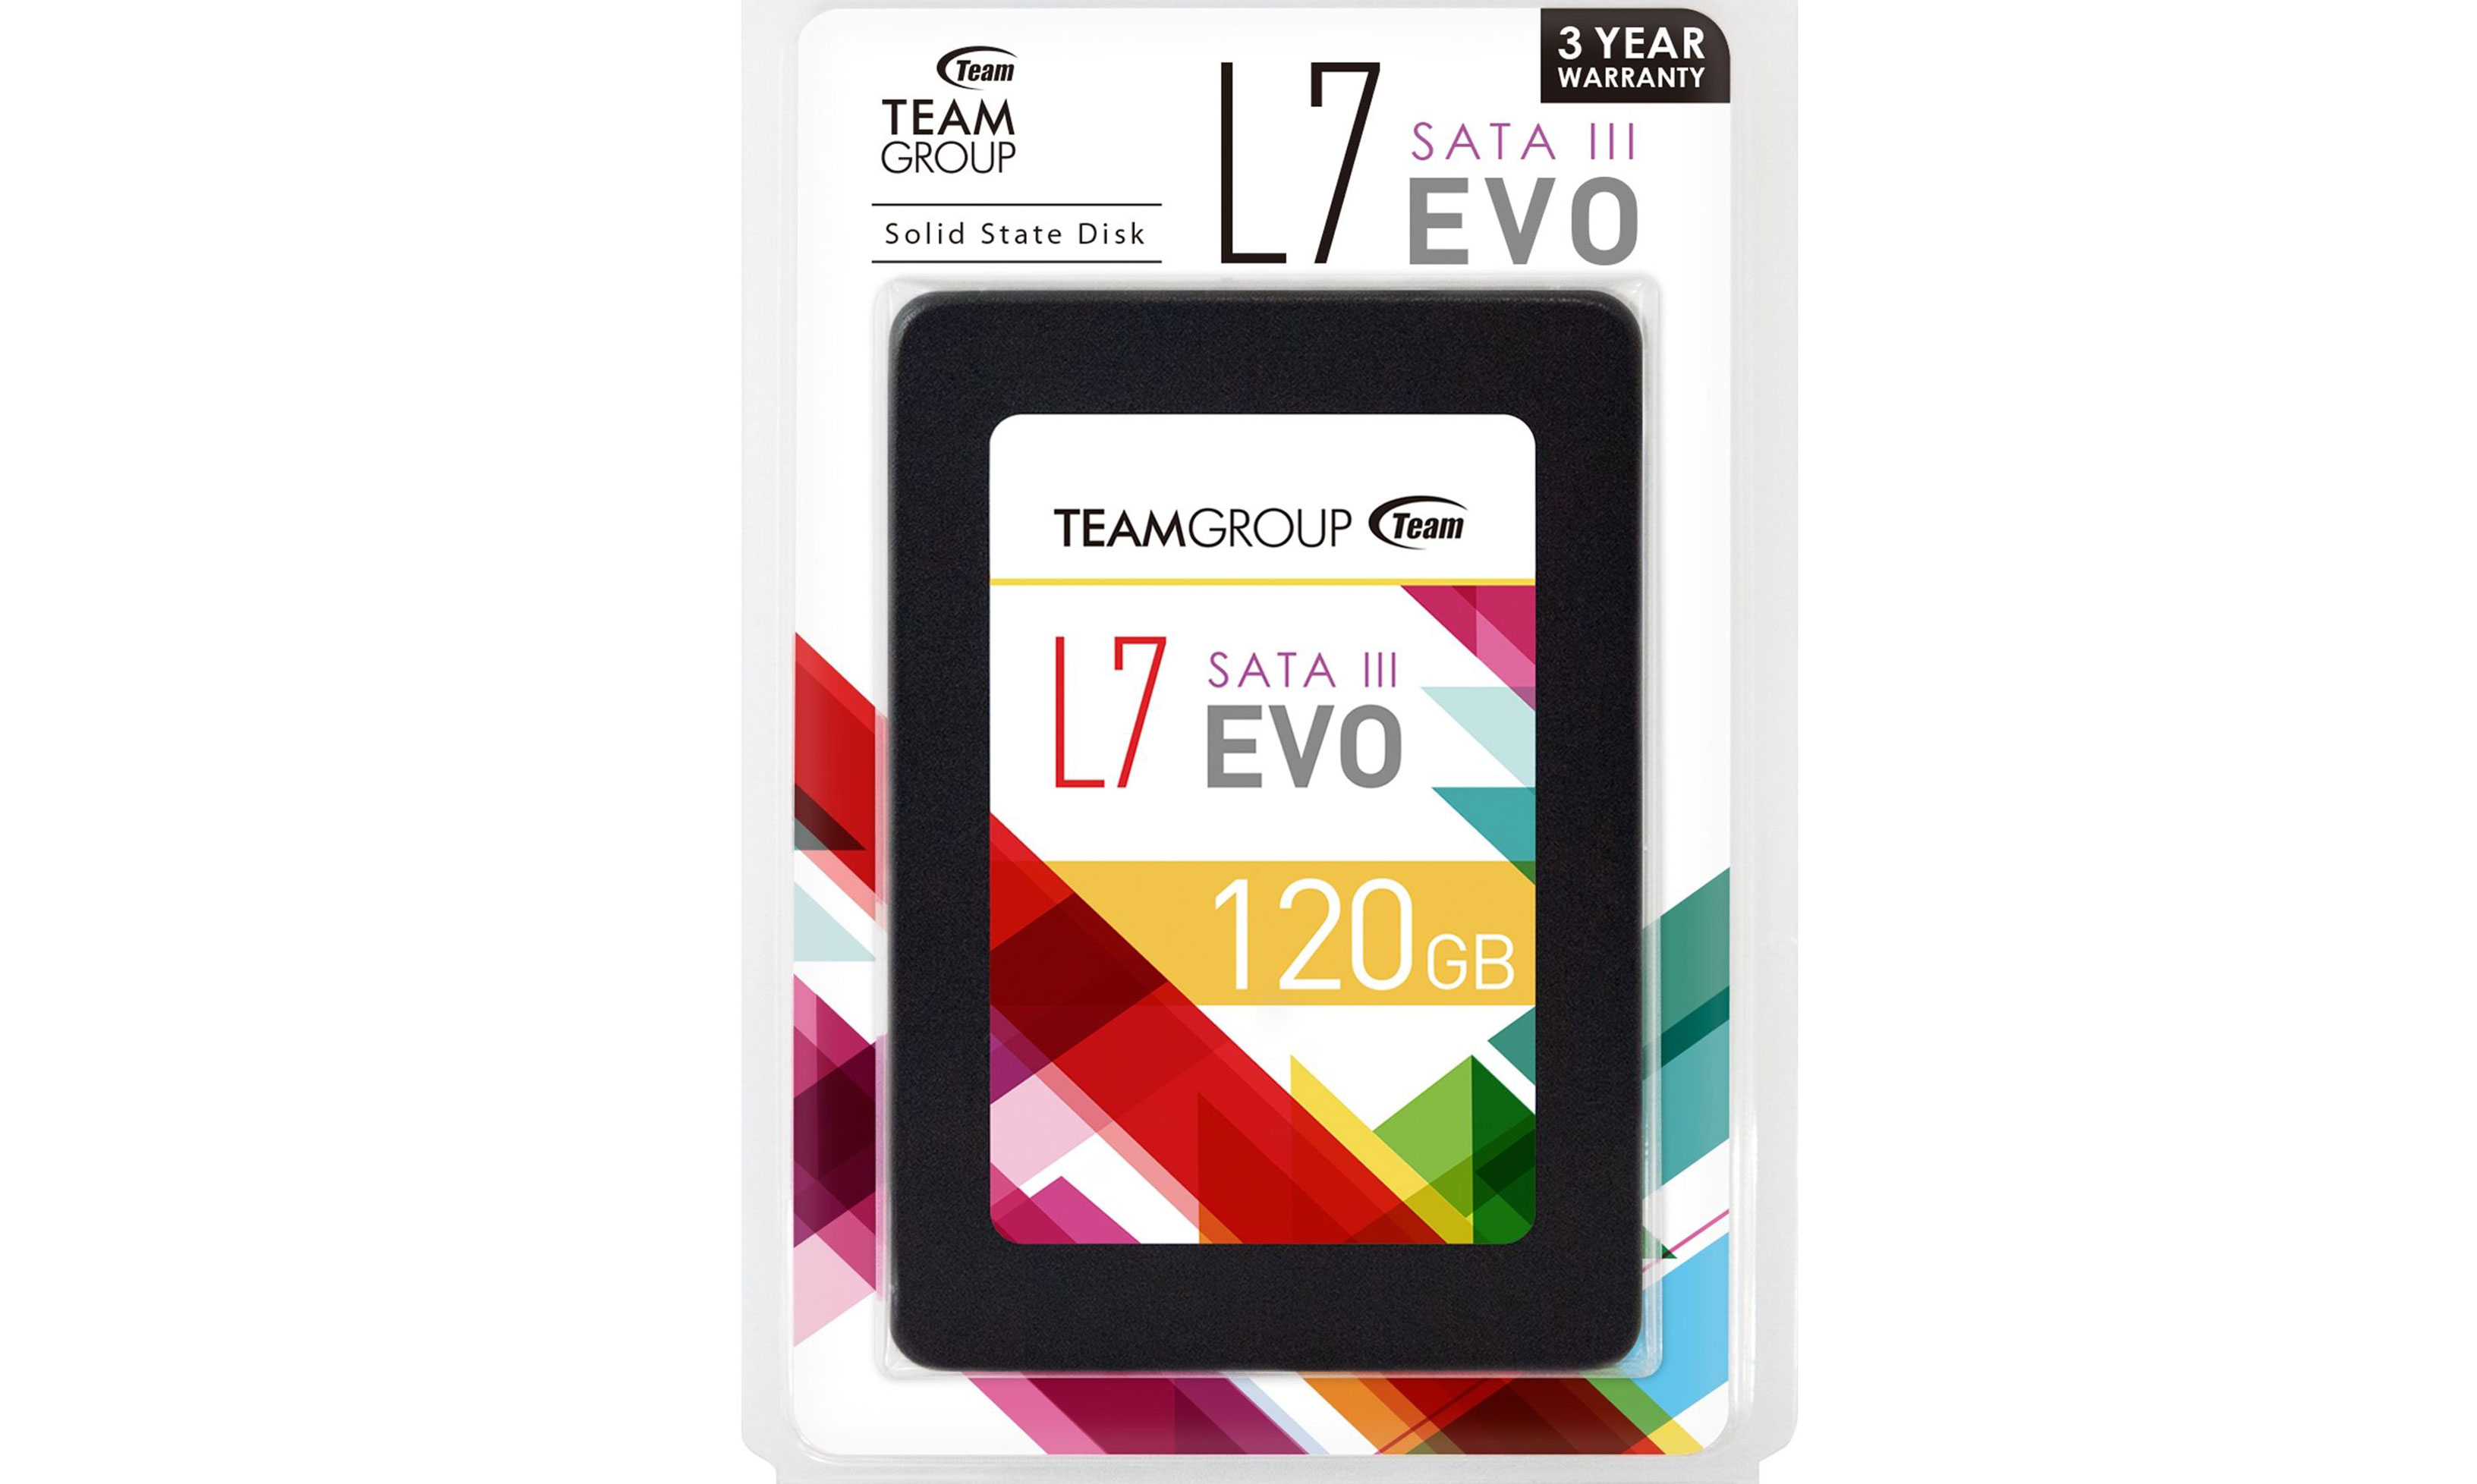
Hard Drive
You will need a storage to install your operating system and your mining software. A standard SSD (Solid State Disk) with a 120GB capacity will get the job done. In my rig, I’ve used Team Group EVO 2.5” 120GB SATA III SSD.
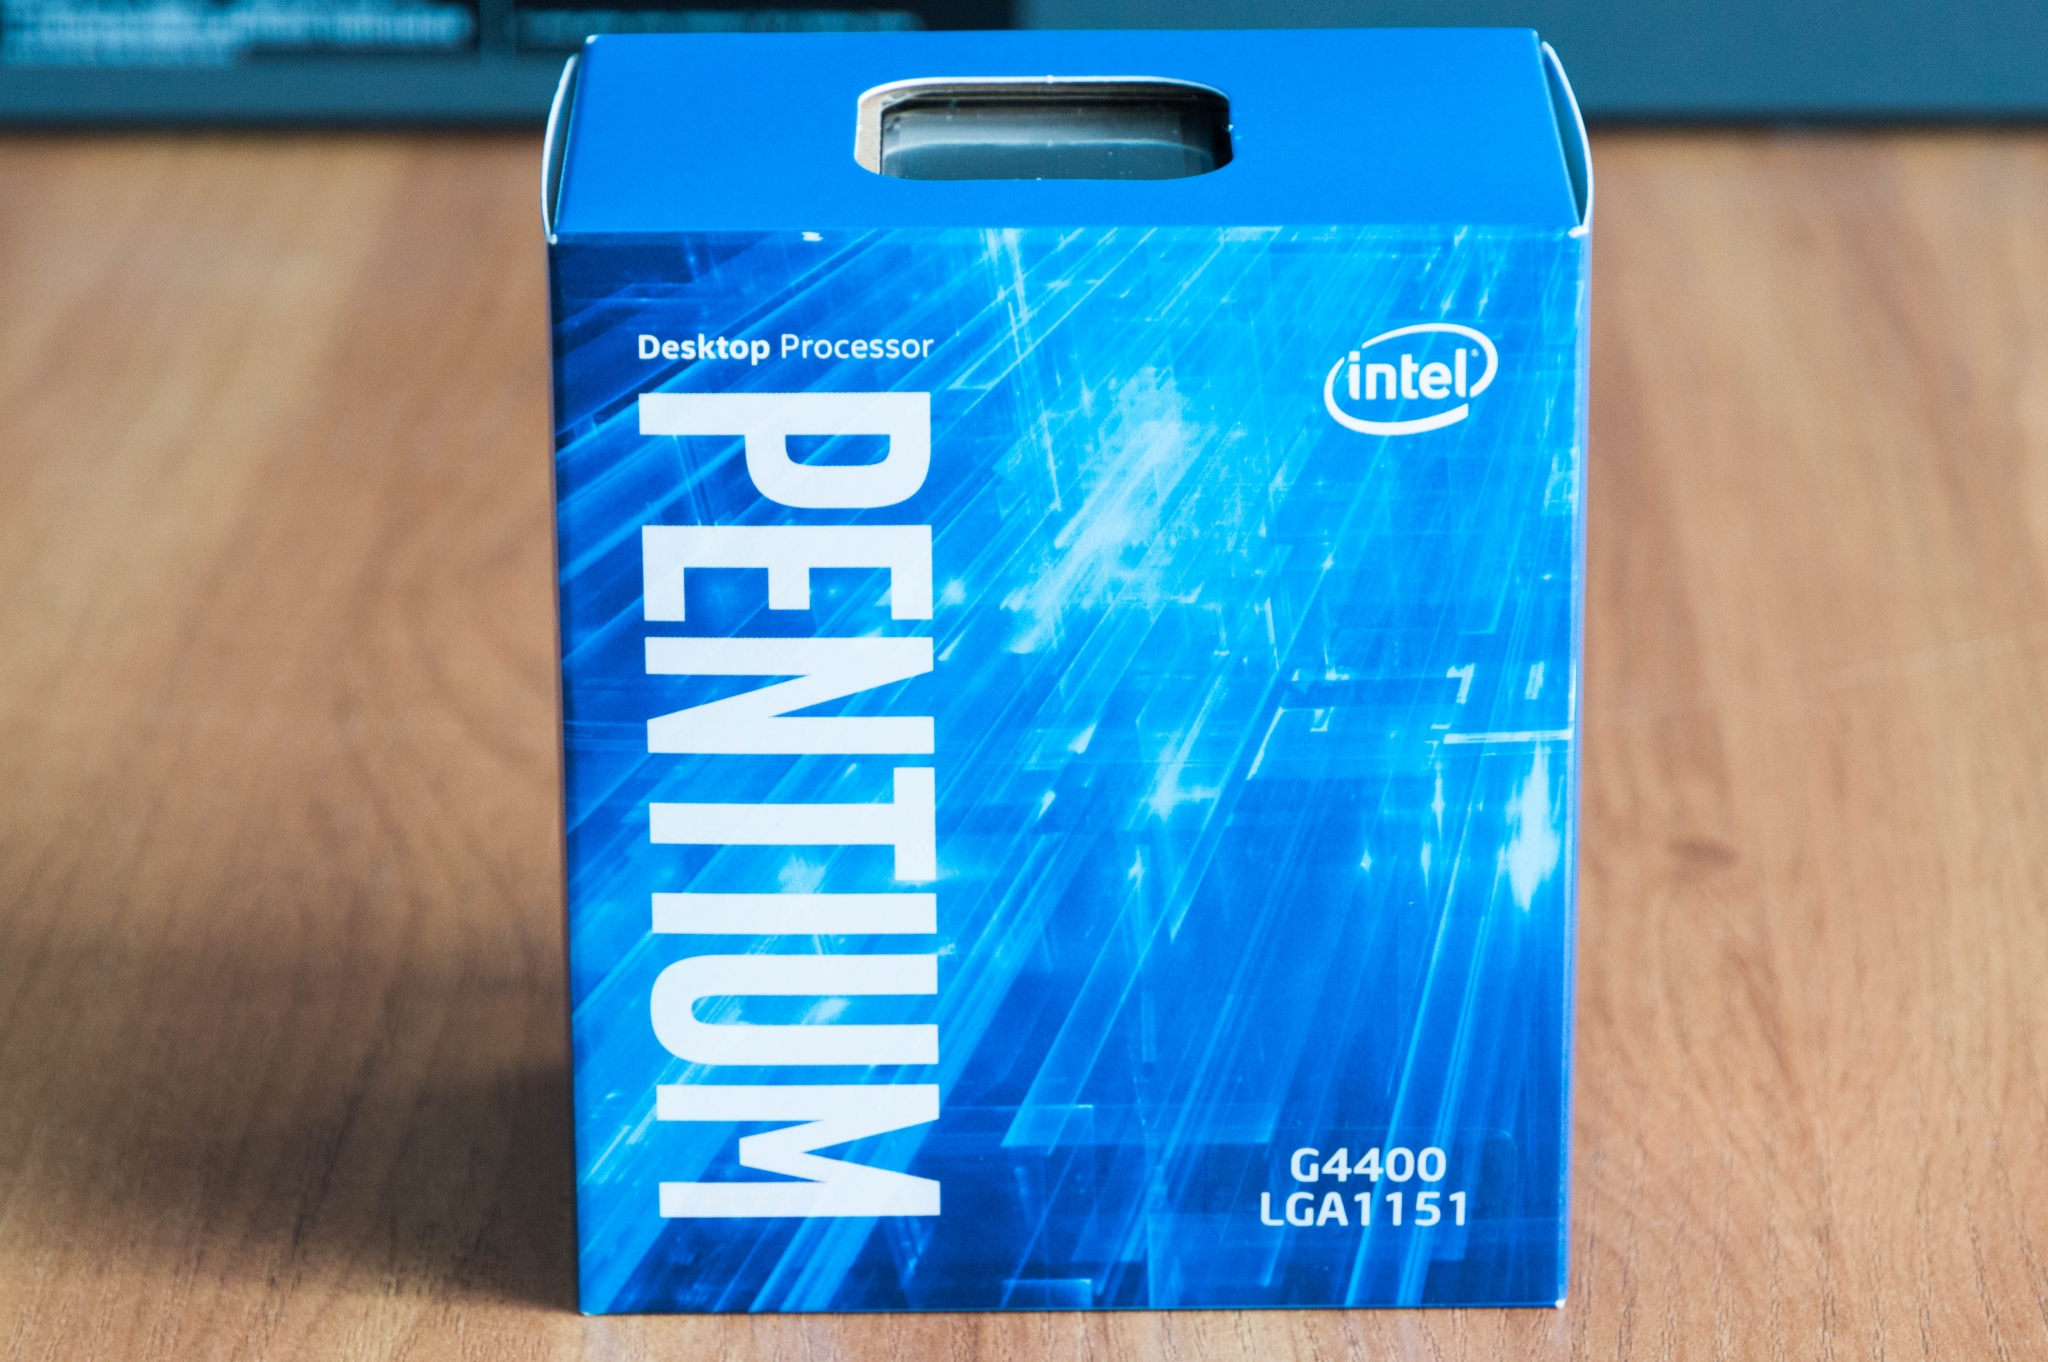
CPU
Central Processing Unit is NOT the part that plays a primary role in the mining-game. It means you should get the lowest clocked CPU that require as low power as possible. Something basic such as Celeron or Pentium will do the job. In my rig, I used Intel Pentium Processor G4400 3.3 GHz. Also, you can check these models if the previous one is not available: Intel Celeron, Intel Celeron M.
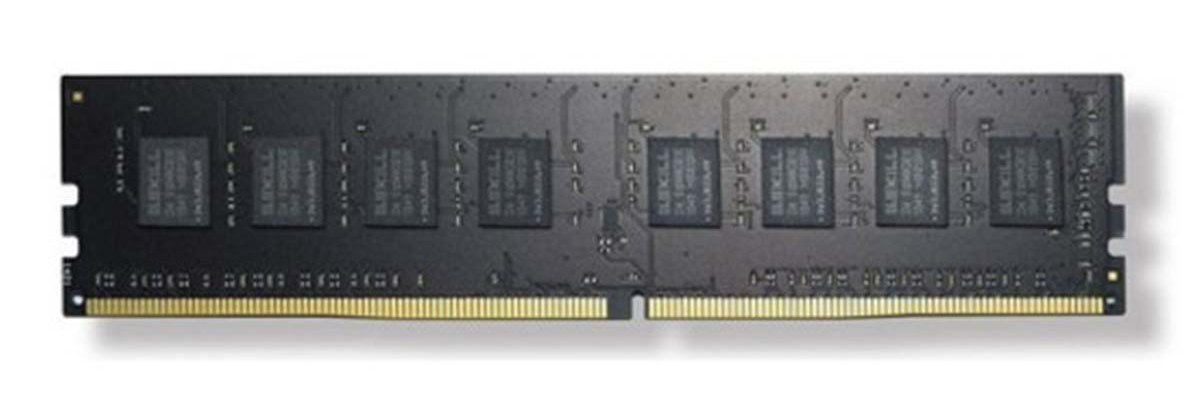
RAM (Random Access Memory)
RAM is an essential part of any computer configuration. This is the memory that your rig will use while working on the math problems. It is like a scratchpad for all the calculations. I am using 8GB G.SKILL NT Series 8GB 288-Pin DDR4 SDRAM DDR4.
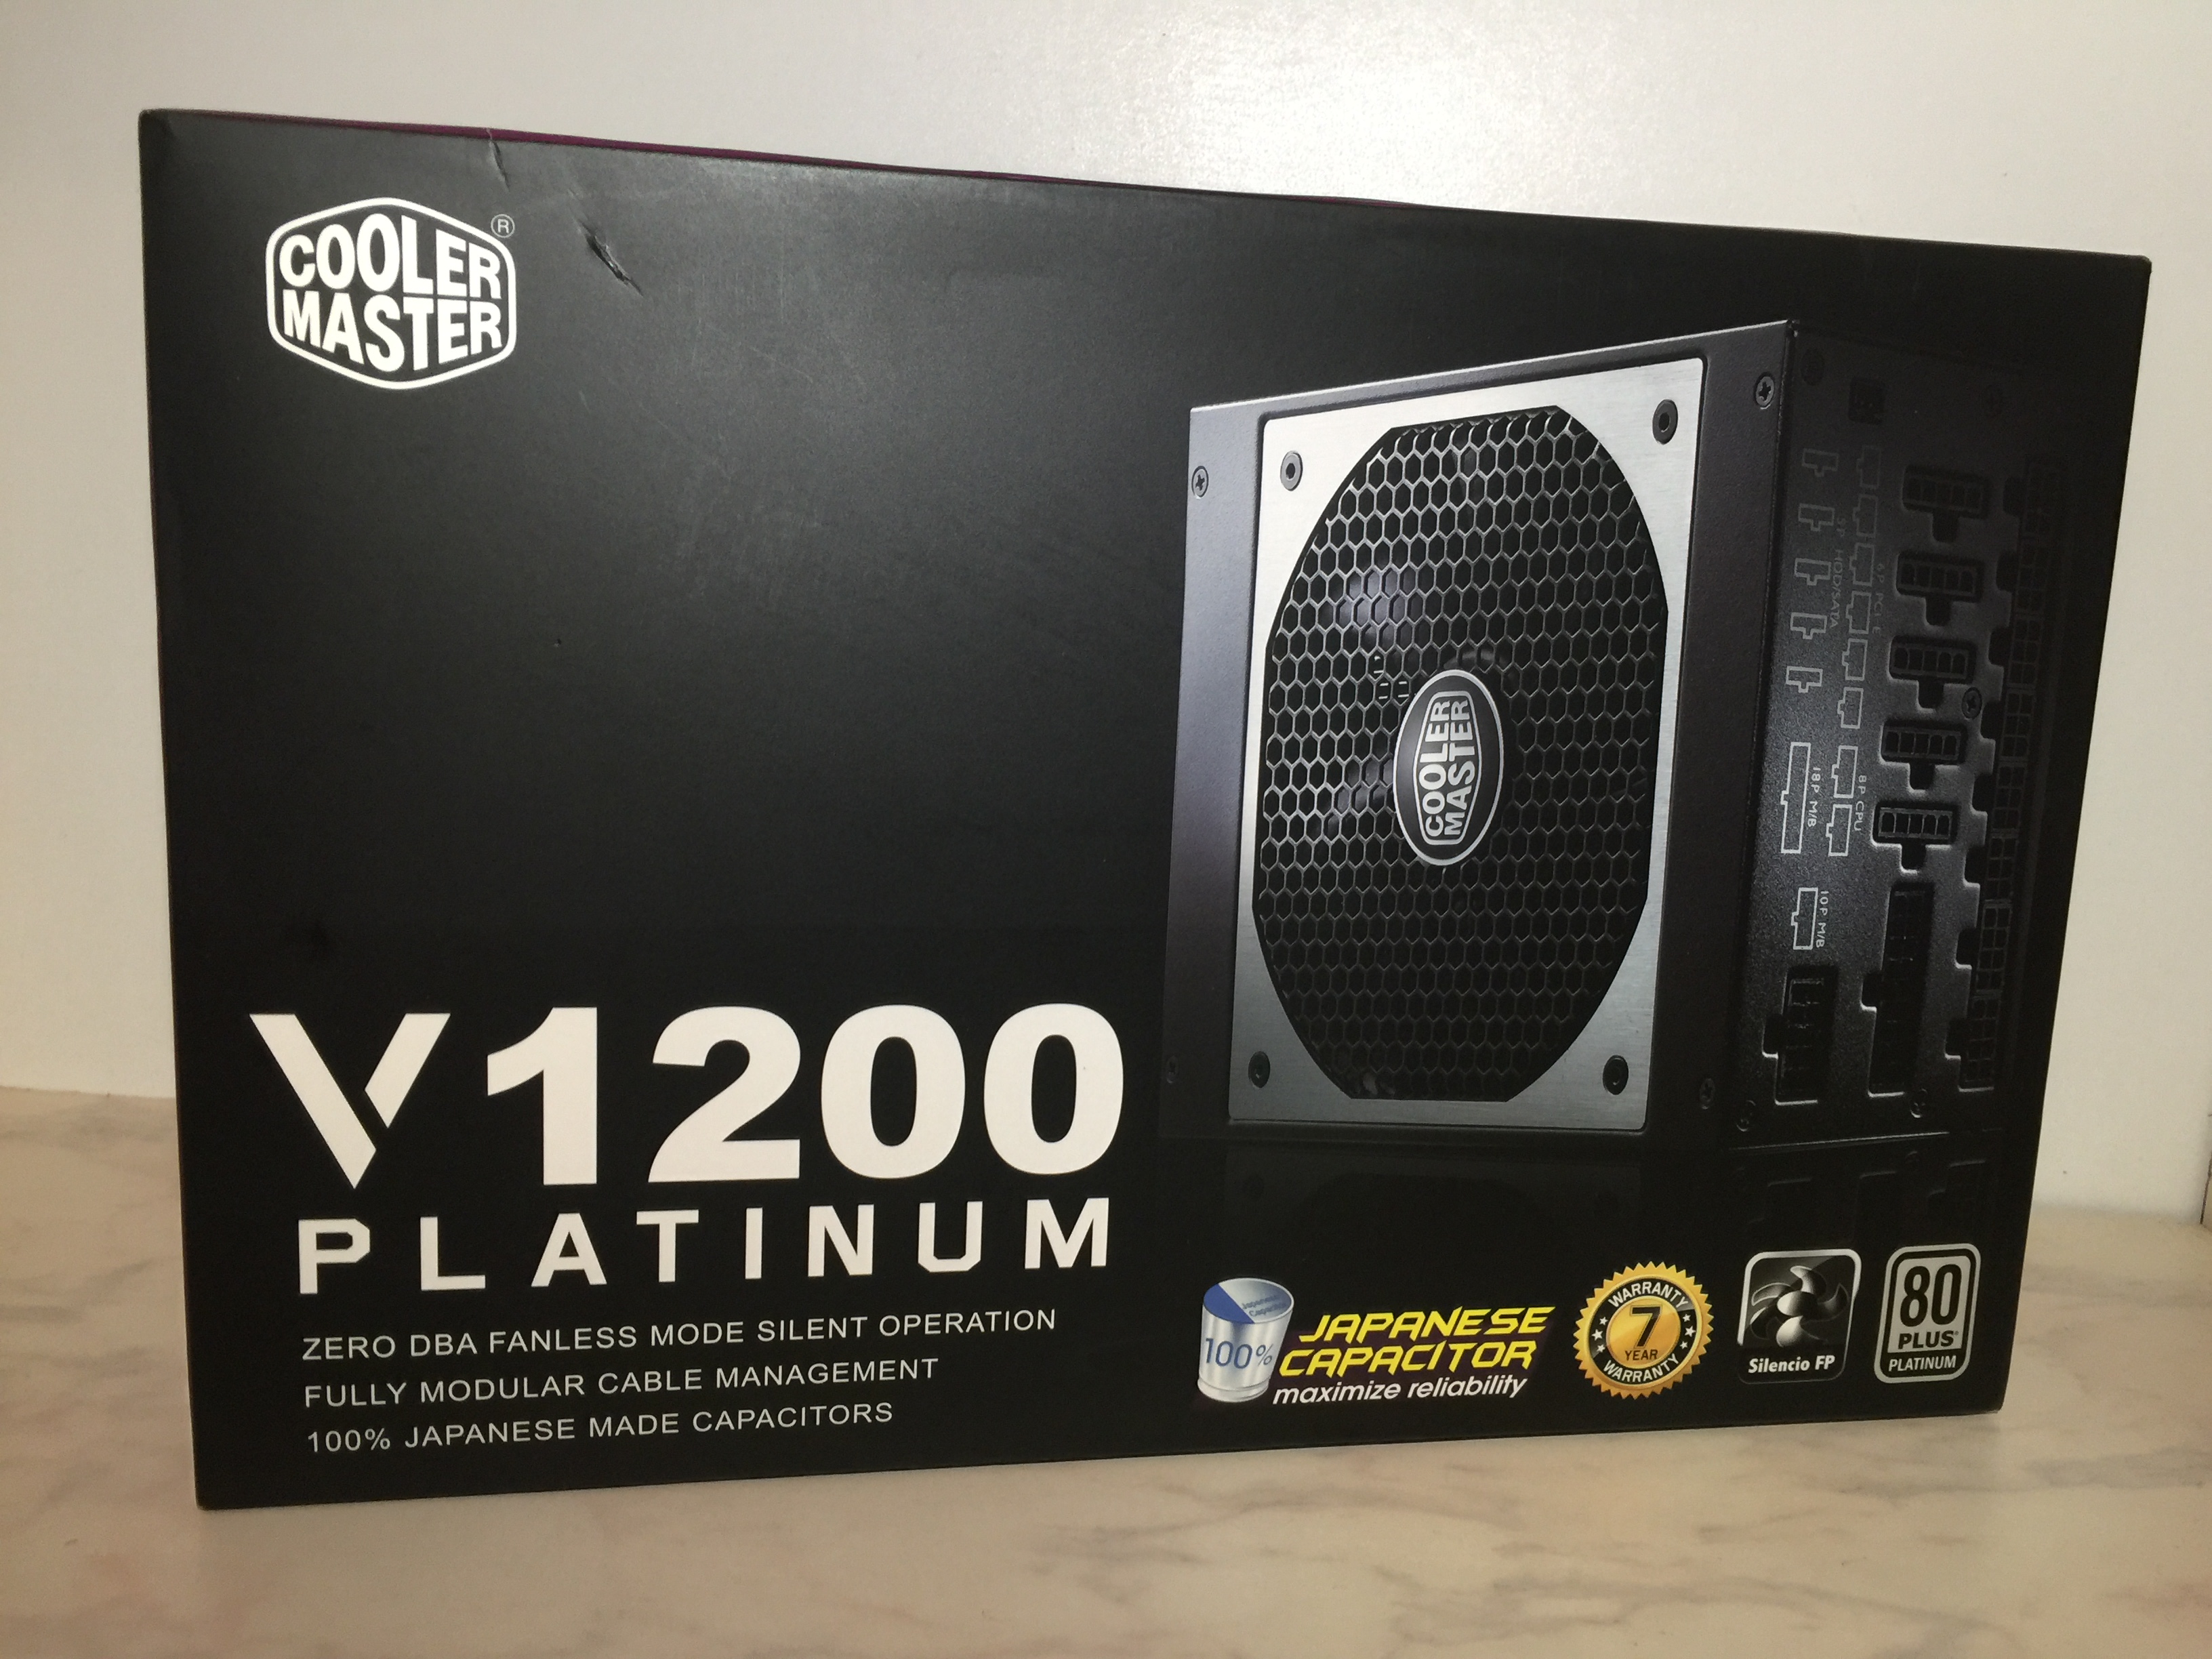
Power Supply Unit (PSU)
PSUs come in different sizes, and this can trip many people up when they are calculating the size they need. The most important thing that you need to know for PSUs is how much power in Watts it can provide. Make a sum up of the power necessary to run your GPUs and all the other parts of your rig. Then, make sure your PSU can supply more! In my case, each GeForce GTX 1070 GPU requires 150 Watts (W), 6 GPUs x 150 = 900W. All other parts consume around 150W, 900W + 150W = 1050W. If you are building a rig with less than 6 GPUs, please make a consideration that you may want to upgrade later. So, I recommend getting a 1200W PSU. I am using Cooler Master V1200 Platinum.
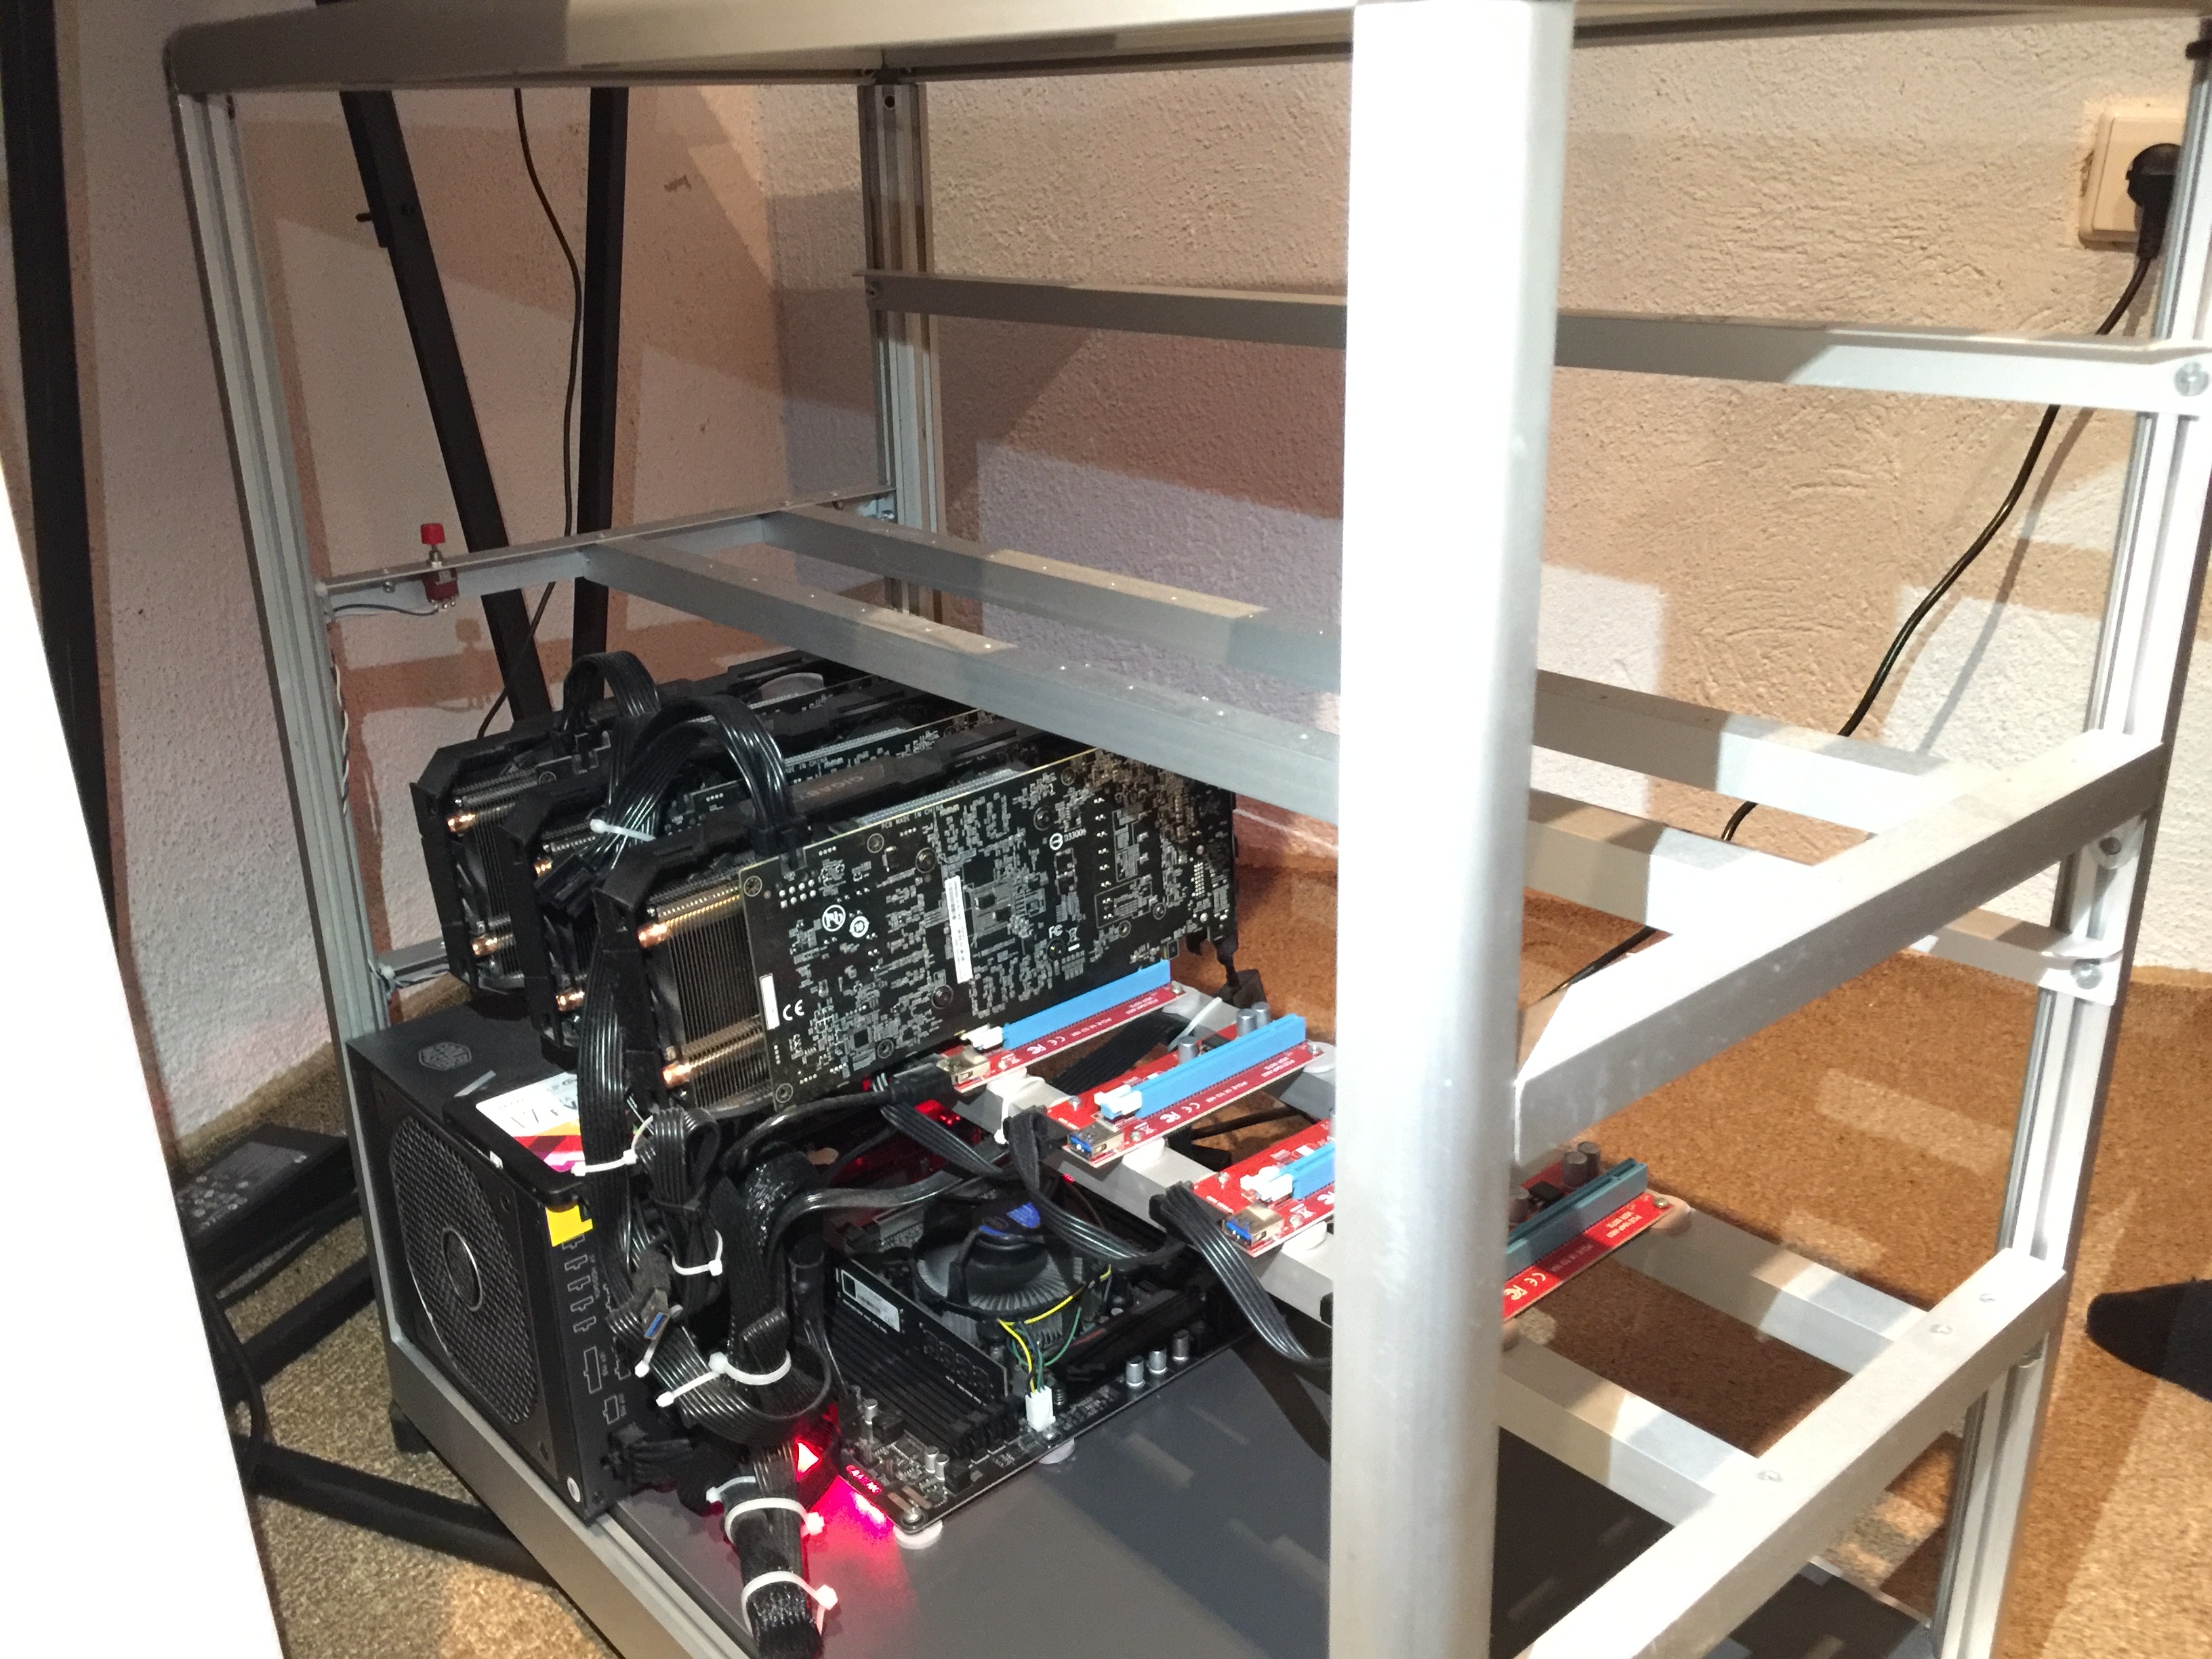
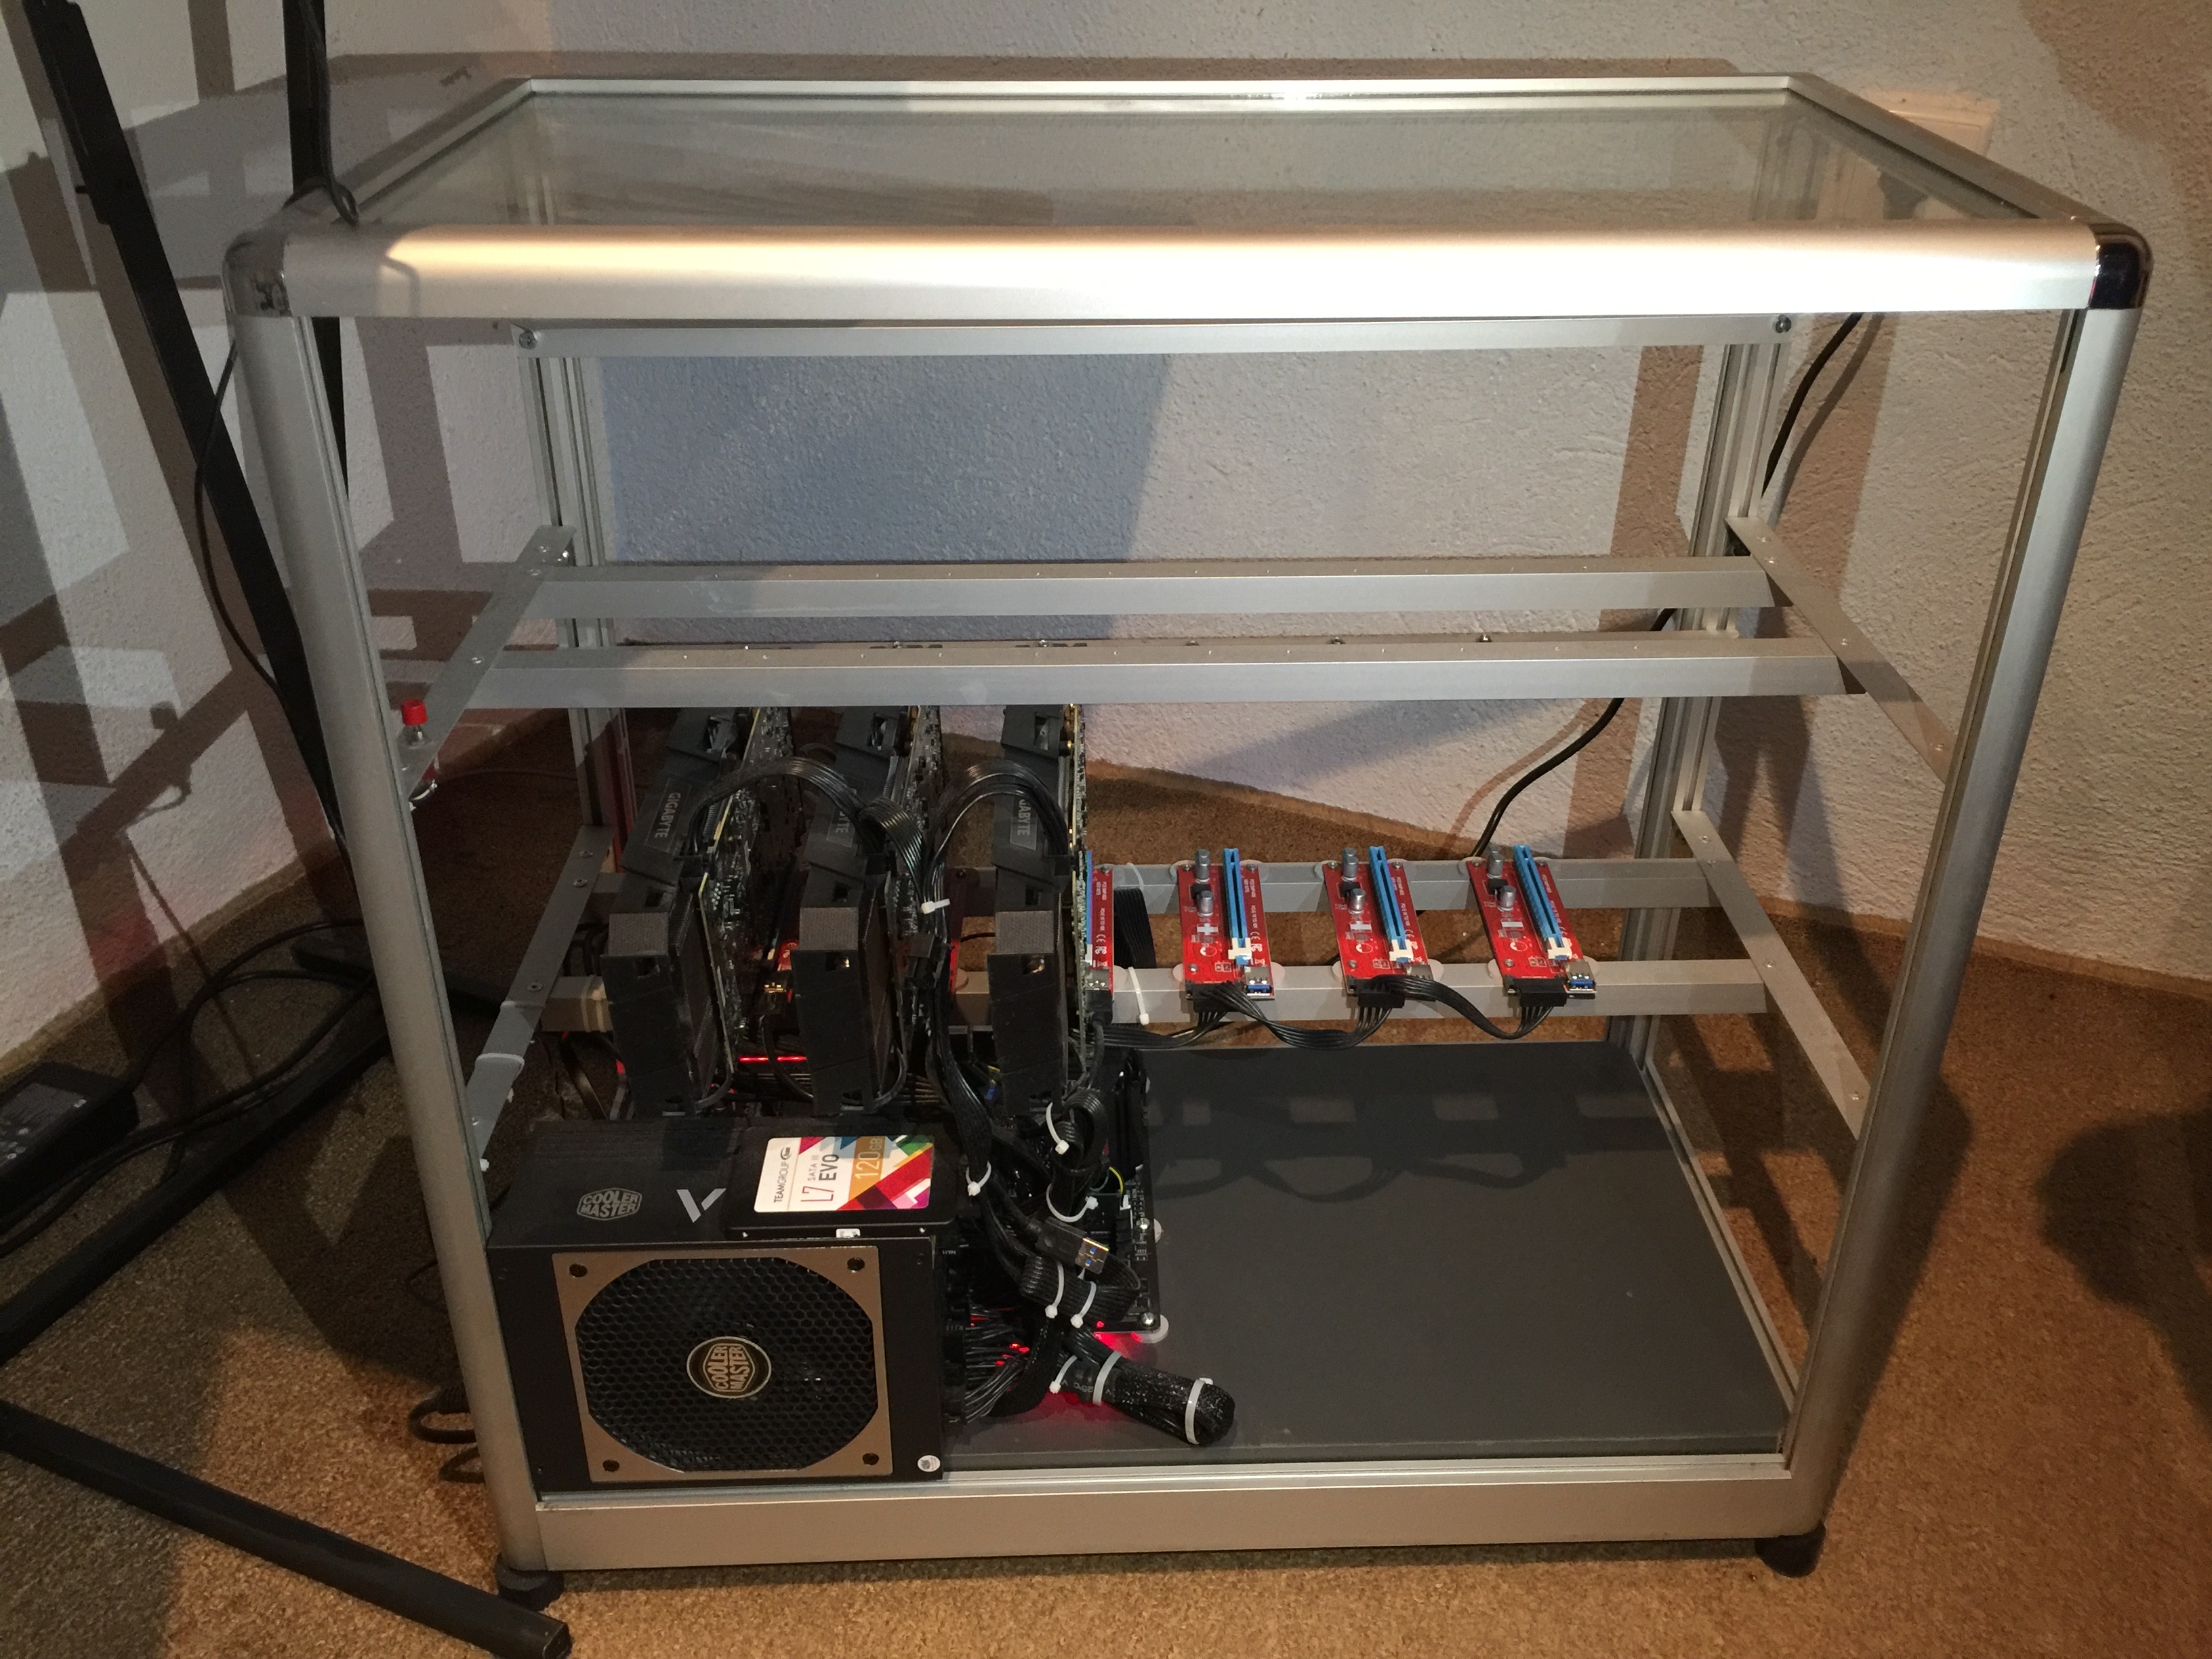
Case
This is a quite tricky choice to make. It depends on your GPUs and whether you are using GPU raisers or not. You definitely don’t want to have your components stacked one on another. Aside from the inefficiency, there is a fire hazard potential. So, you can build your own open-air case or get one prebuilt from the internet.
I personally wanted to get a highly upgradable case. So, I build a custom one. It can fit up to 2 motherboards with 6 GPUs on each one. It has a plenty of space on the bottom where I can place the second motherboard as well as the second PSU. And for the GPUs, I can have 2 rows with 6 GPUs in each one. If you are interested in building a case just like mine, drop me a comment below. I’ll give you more details.
Now, when you got all the hardware components, it’s time to put everything together.
Putting Your Hardware Together
If you have built your own desktop computer before, this will be easy. If not, start with placing the motherboard into your case. Next, attach raisers into the PCI Express slots of your motherboard and position the extension GPU slots on the housing correctly.
Note: Make sure you leave enough space between GPU slots. GPUs can get hot, and they need an airflow to cool down. If you put them too close, they may suffer from overheating.
Now, make sure you connect all the cables nicely, and everything is held firmly. Make a double-check if everything is in the place. When you are 100% sure you didn’t miss anything, plug your rig into a power outlet. Note: Place your rig in a well-ventilated area. It will help for keeping its temperature low.
As you can see in my pictures, initially my mining rig has 3 GPUs. However, I plan to upgrade it with 3 more shortly. And, later I would probably go with another 6.
Installing the Needed Software
Once you switch your rig on, you need to make sure all the software is there for you to start mining. The first thing in the software-department is installing an operating system. Here you can choose between Linux and Windows. I picked Windows 10, because it automatically installs the latest drivers – needed for your computer to communicate correctly among all components. When you got your operating system ready, it’s time to get the mining software. At this point, I know that you can’t wait to launch your rig into the mining-game. So, I won’t bother you with all the different kinds of mining programs. For now, I will show you the easiest way to get your rig mining. Later we can discuss more on the best mining software variants. You can choose from many mining programs like Minergate, Nicehash, MiningPoolHub, etc. The one that I’ve used is Nicehash, and I highly recommend it to any Crypto-mining beginner. It mines the most profitable coin for your GPUs and automatically converts the earnings into Bitcoins. The installing process is pretty similar for any of the mentioned miners. You just need to go to their official website, create an account and Crypto wallet, and download their software. Once the download is complete, install the software, make the benchmarks and hit the Start Mining button. And… that’s it. Happy Mining!
Wrap Up
As much as it seems complicated on the surface, the whole Crypto mining concept is made to be simple. Once you jump in and get the first outcome, you will start learning new tricks and ways to optimize your mining work. If you have any questions about how to get your rig up and running, feel free to drop us a line in the comment section below. In the next article of the Crypto mining series, we will take a look at what the best mining software and hardware solutions are. Furthermore, you can see how to use them for maximizing your mining profit. Take a look at the following link for more details.
How Bitcoin Mining and Crypto Mining WorksHow To Determine If A GPU Has Been Used In Mining Or NotAleo Could be the New Ethereum, Offers GPU-Mining At a BudgetIntel Launches Arc A380 Desktop GPU in China for $153 Marking the Company’s…